Flower Power
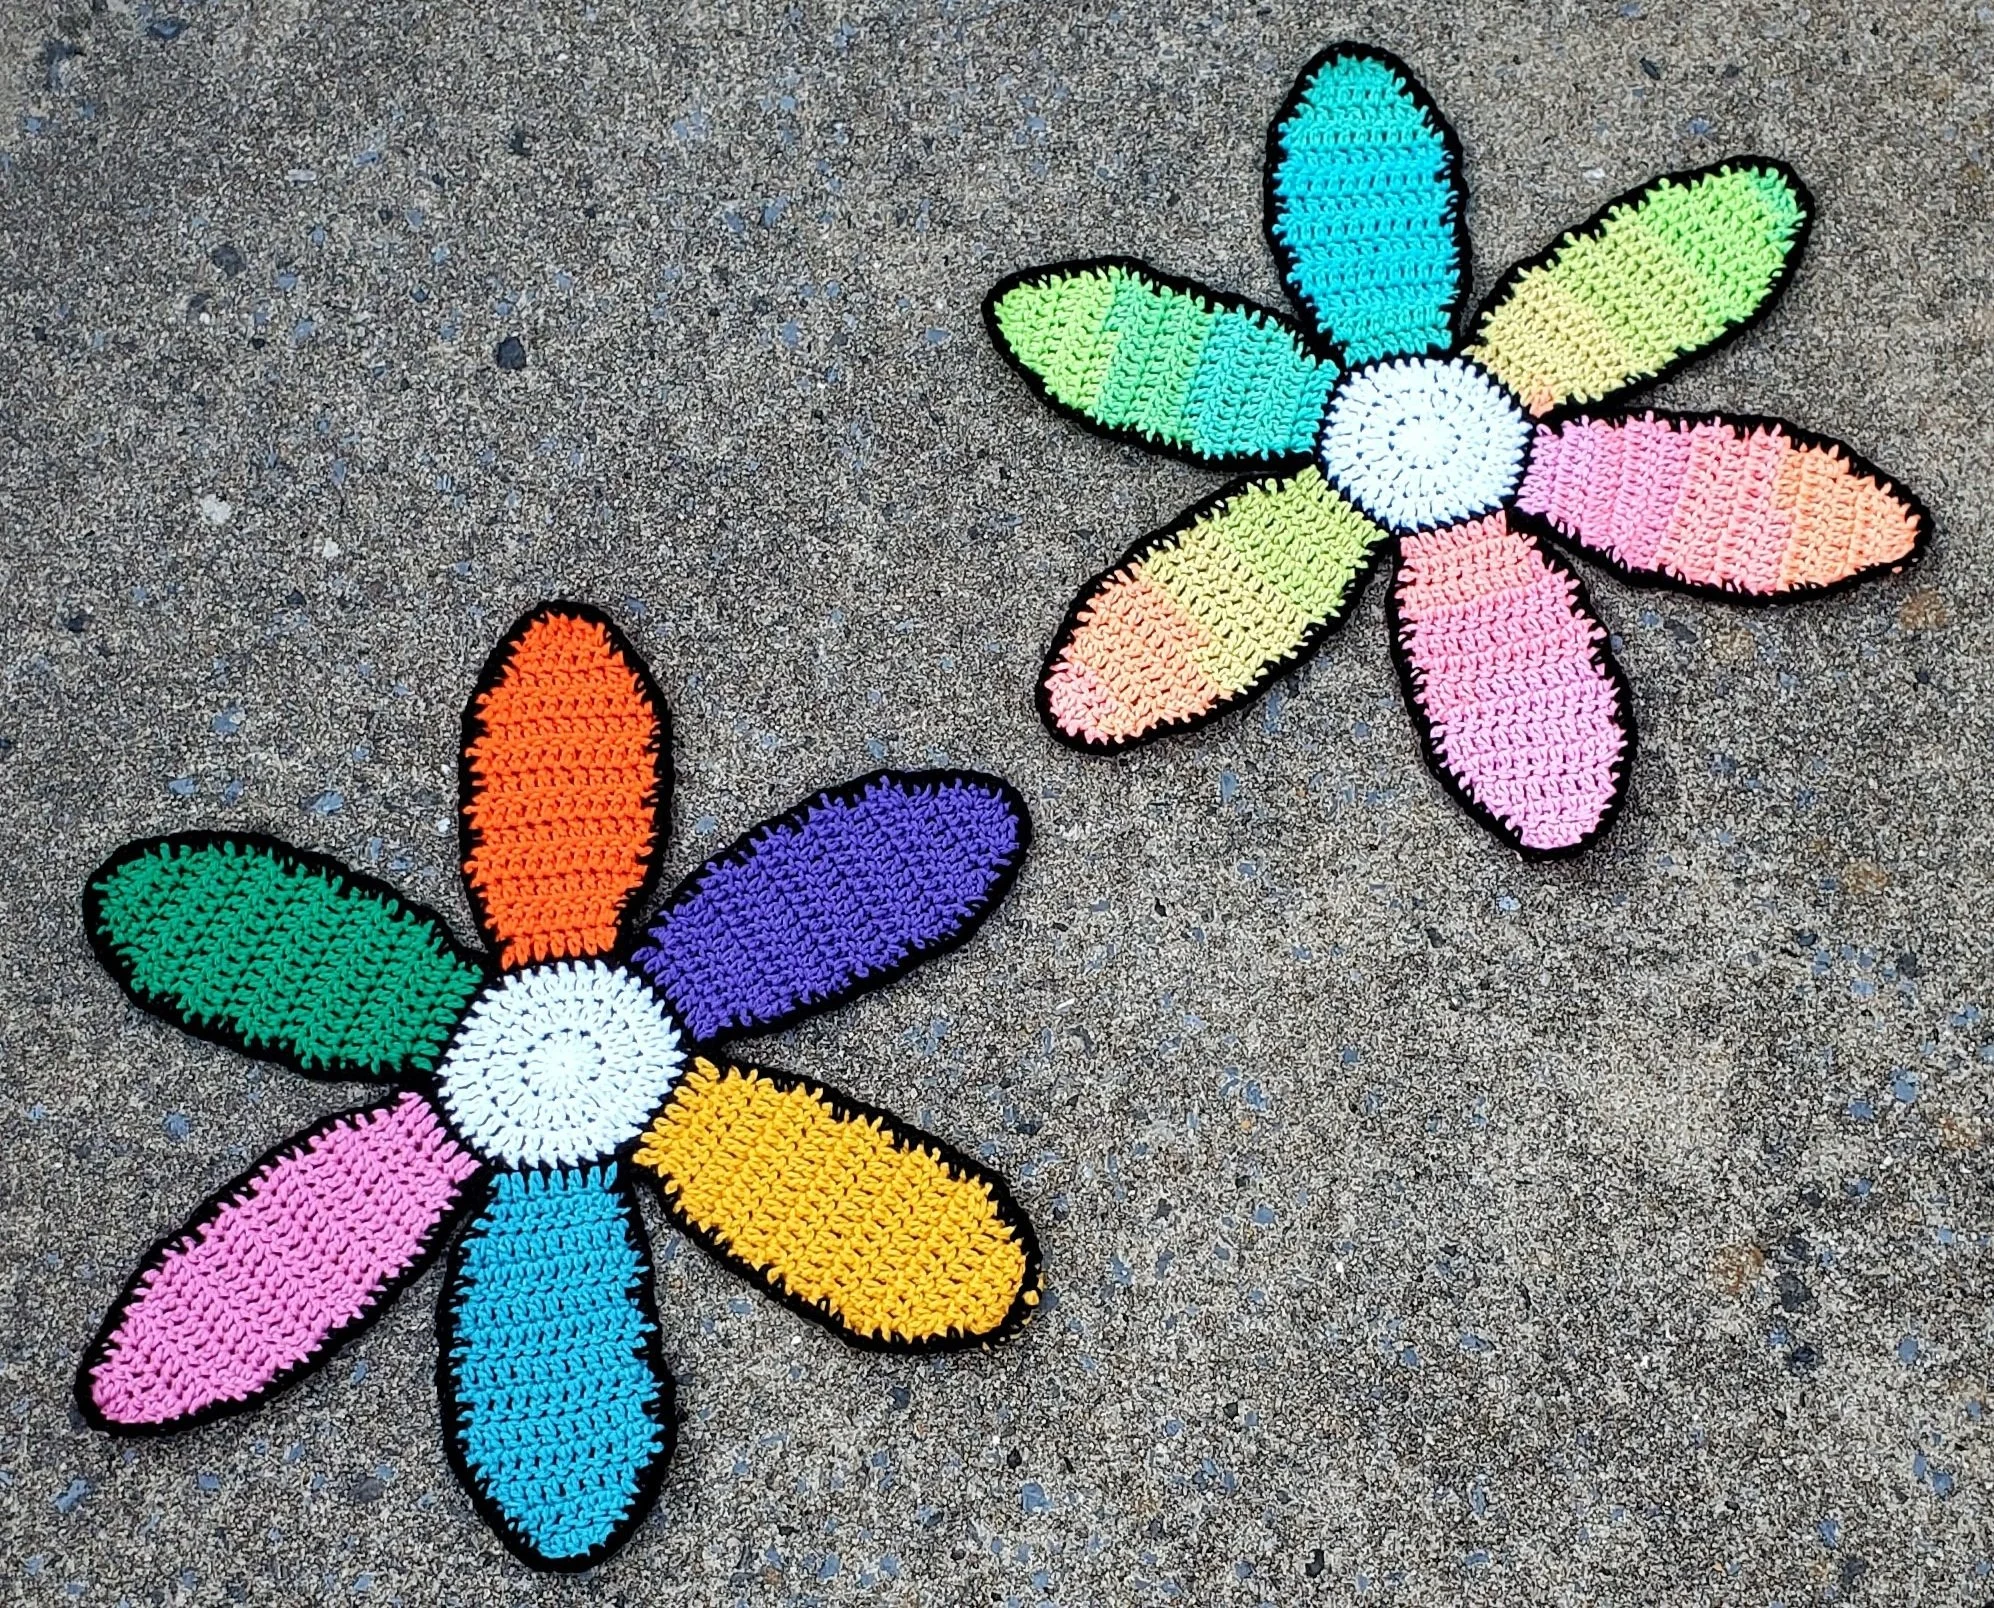
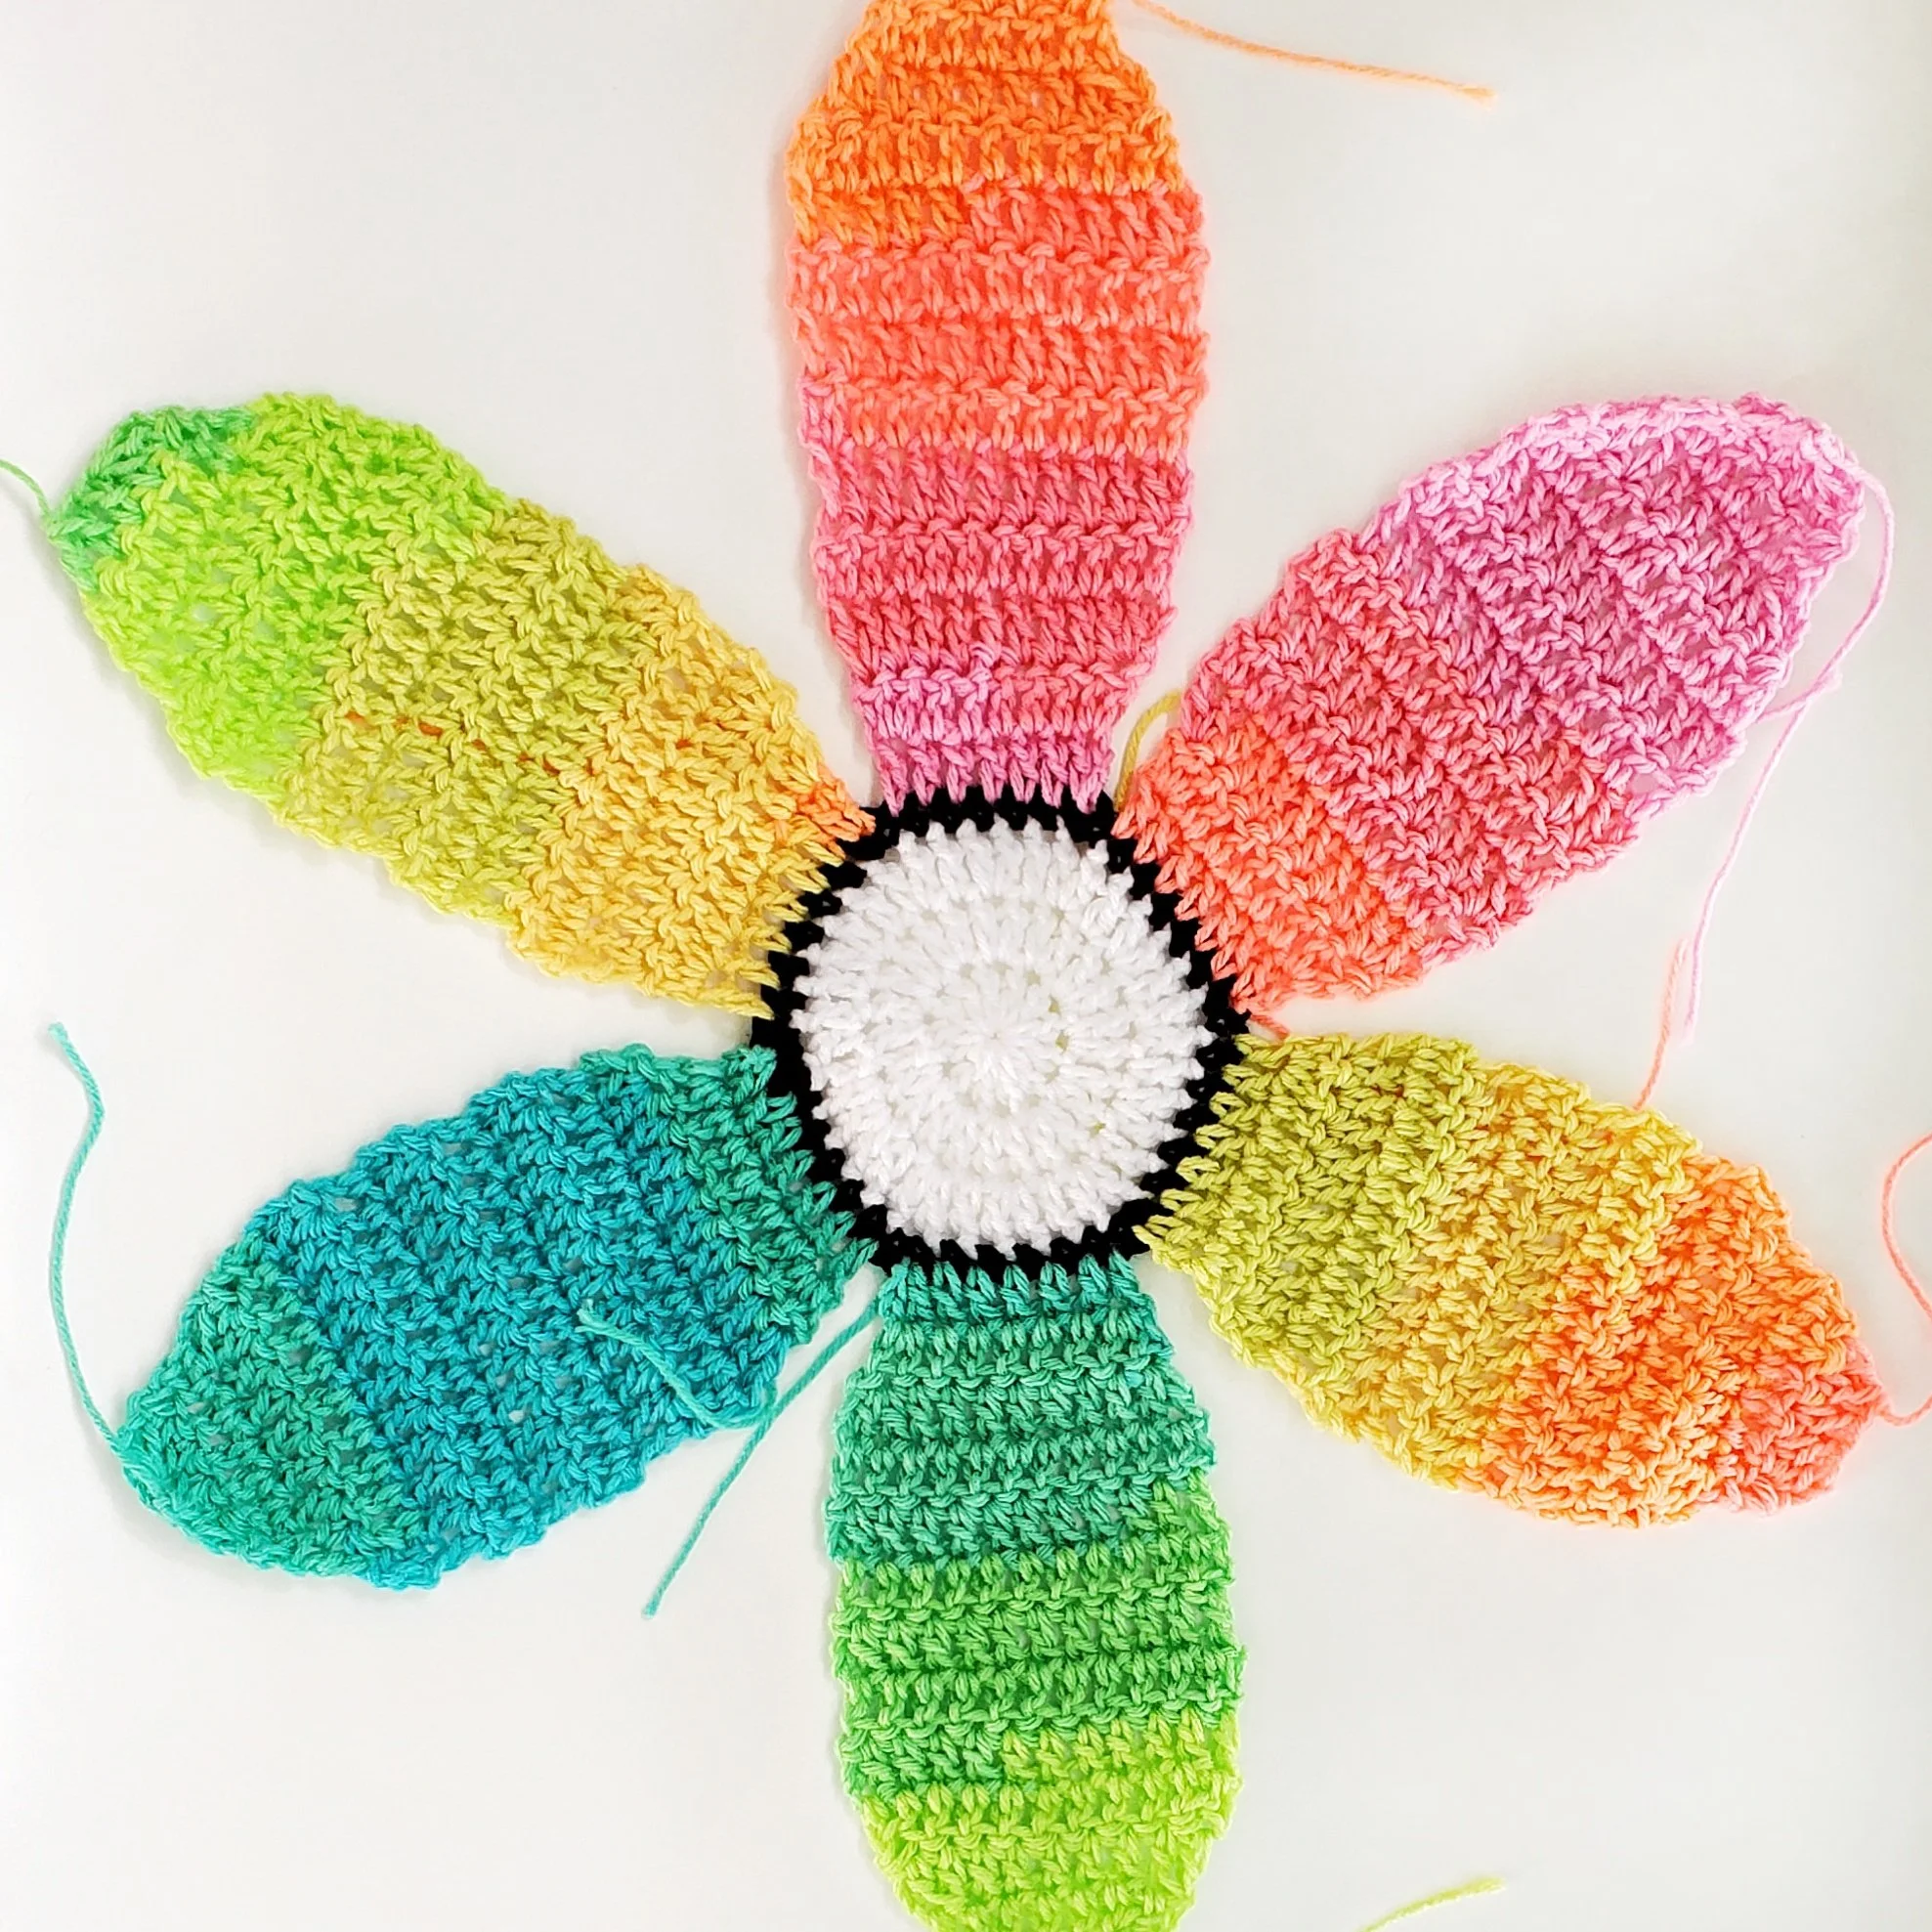
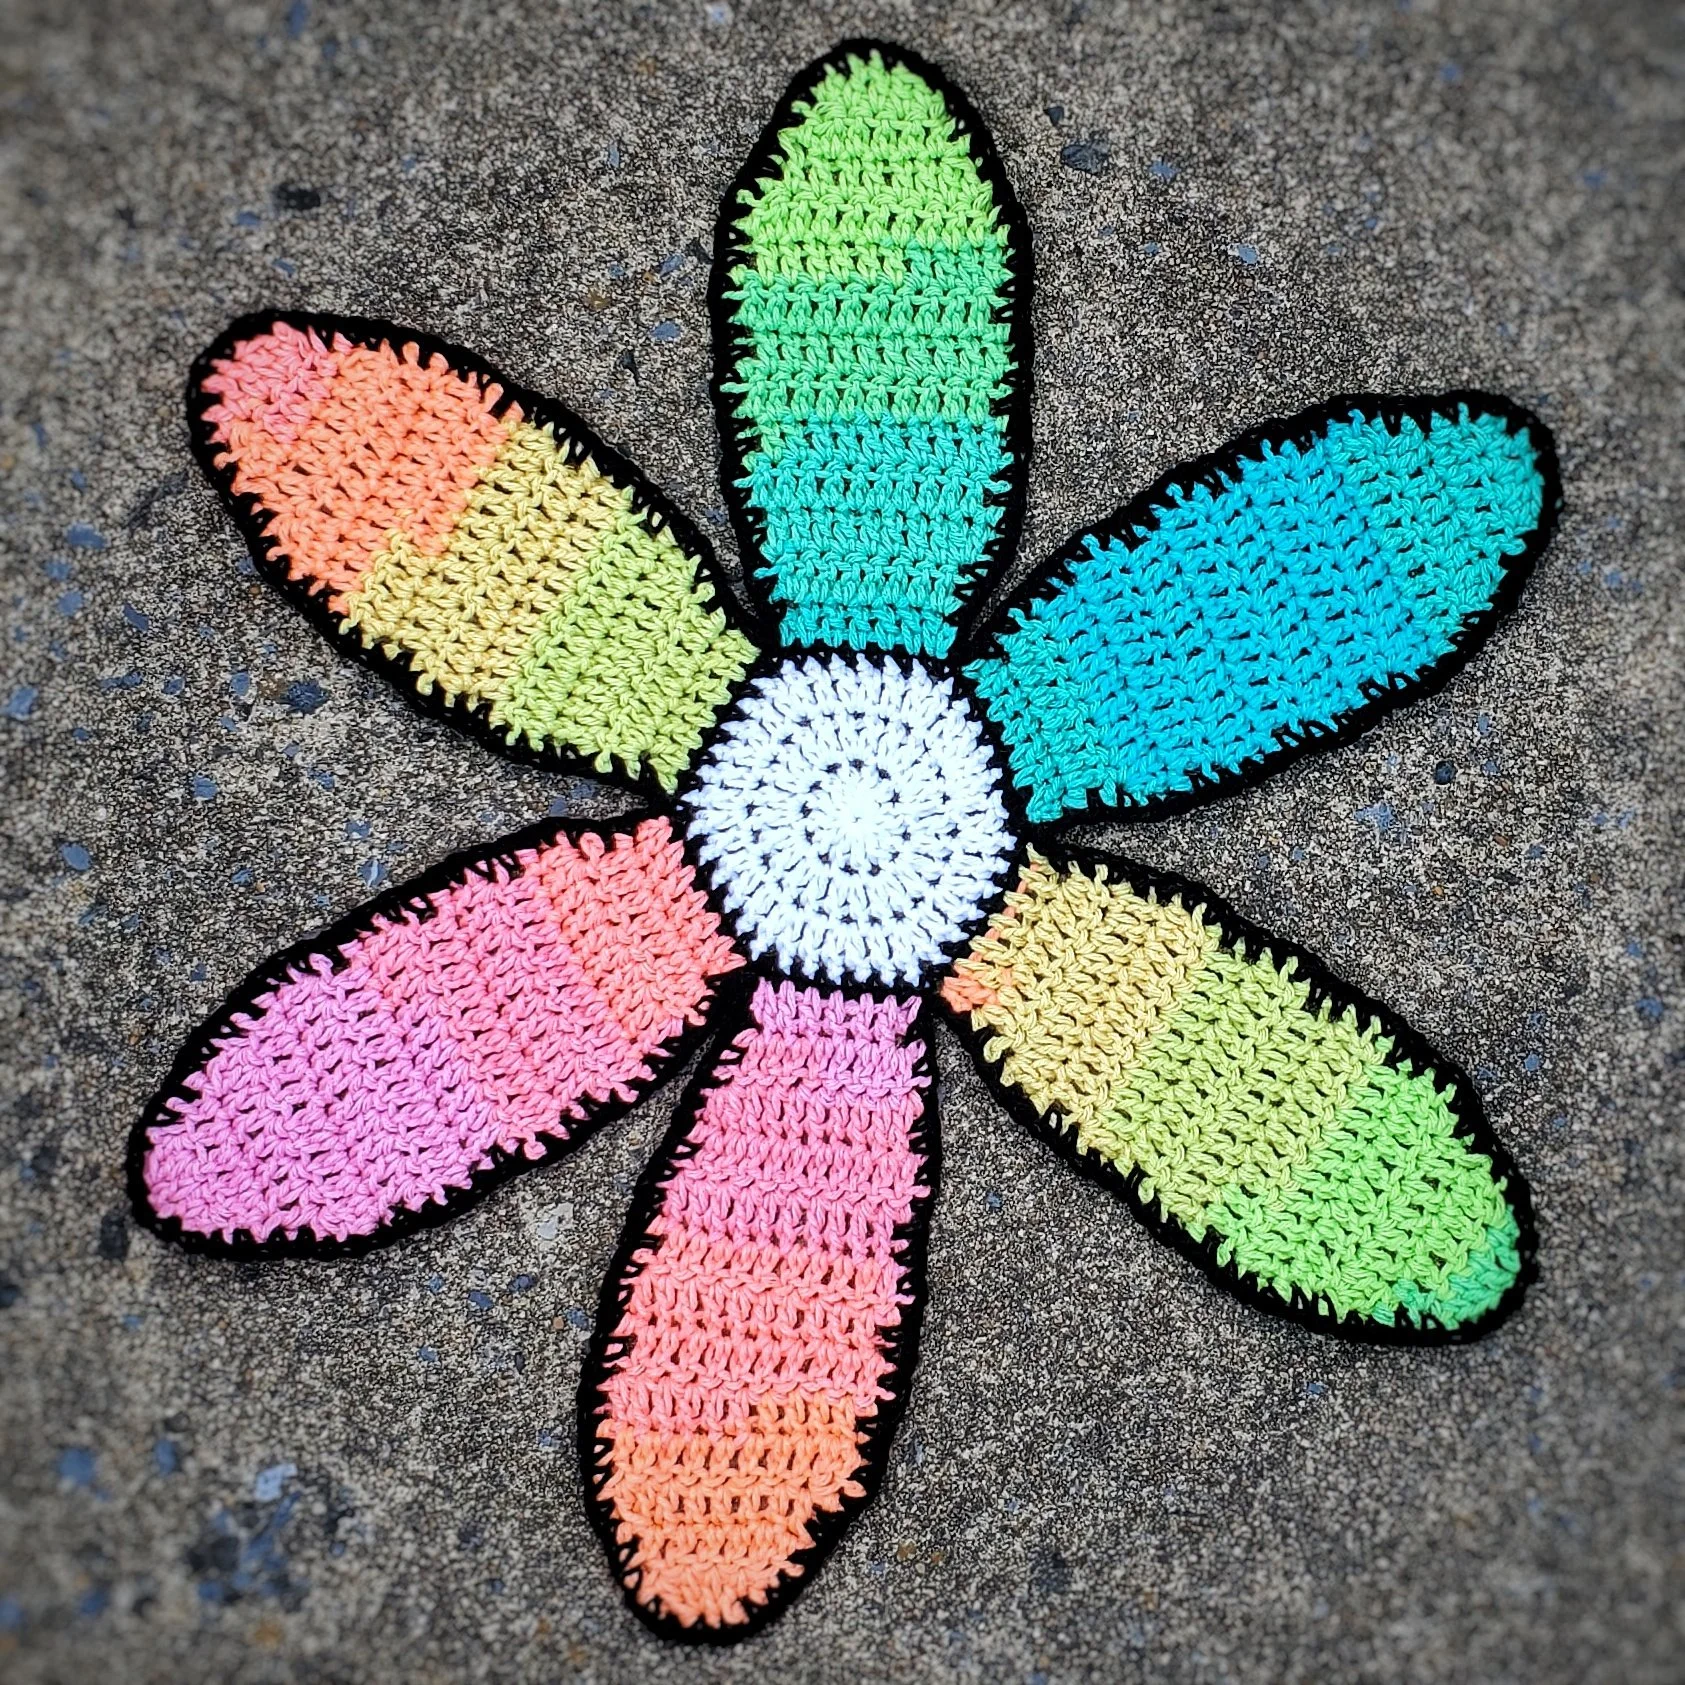
Crochet some oversized decor into your life with these 24” JUMBO flowers! These floral pieces were originally designed for a collaborative yarnbombing in Newfoundland, Canada (hosted by Rock Vandal). You can also channel those flower power vibes by hanging them on the wall, or use them as extra large embellishments on a throw blanket, sweater, or jacket.
Two colorful Flower Power flowers, off to Newfoundland Canada for a yarn bomb collab!
This pattern includes instructions to crochet flowers approximately 24" across at the widest point. This crochet pattern is of easy difficulty, though prior knowledge of crochet techniques is required to complete this project, including working in the round and in rows.
This is a perfect pattern to use up your most colorful yarn scraps!
Materials
N hook (9.00mm)
Yarn needle for weaving in ends and assembly
Worsted Weight Yarn in the follow amounts:
15 yards white
25 yards of the color of choice for each petal (150 yards total)
25 yards black
Gauge
Round 3 of the center circle should measure 5” across the center. Finished flower should measure 24” from petal tip to opposite petal tip.
Stitches/Abbreviations
sl st slip stitch
st/sts stitch
ch chain
mc magic circle
sc single crochet
dc double crochet
dc2tog dc two together (decrease)
inc single crochet increase
Special Notes
Ch 2 at the beginning of rows does not count as a stitch.
Use a smaller hook for smaller flowers.
Stitch patterns denoted within parentheses () will be repeated the number of times shown after the parentheses. Stitch counts will be noted in parentheses at the end of each row.
Numbers written before a stitch abbreviation indicate multiple stitches into a single stitch of the prior row/round(i.e. 2dc would mean to make 2 dc stitches into a single stitch.)
Numbers written after the stitch indicate repeating the indicated stitch(es) into the next # of stitches of the prior row/round (i.e. dc 2 would mean to make a single dc stitch into the next 2 stitches.)
Flower Power
Center Circle
[Using an N hook (9.00mm) & worsted weight yarn in white]
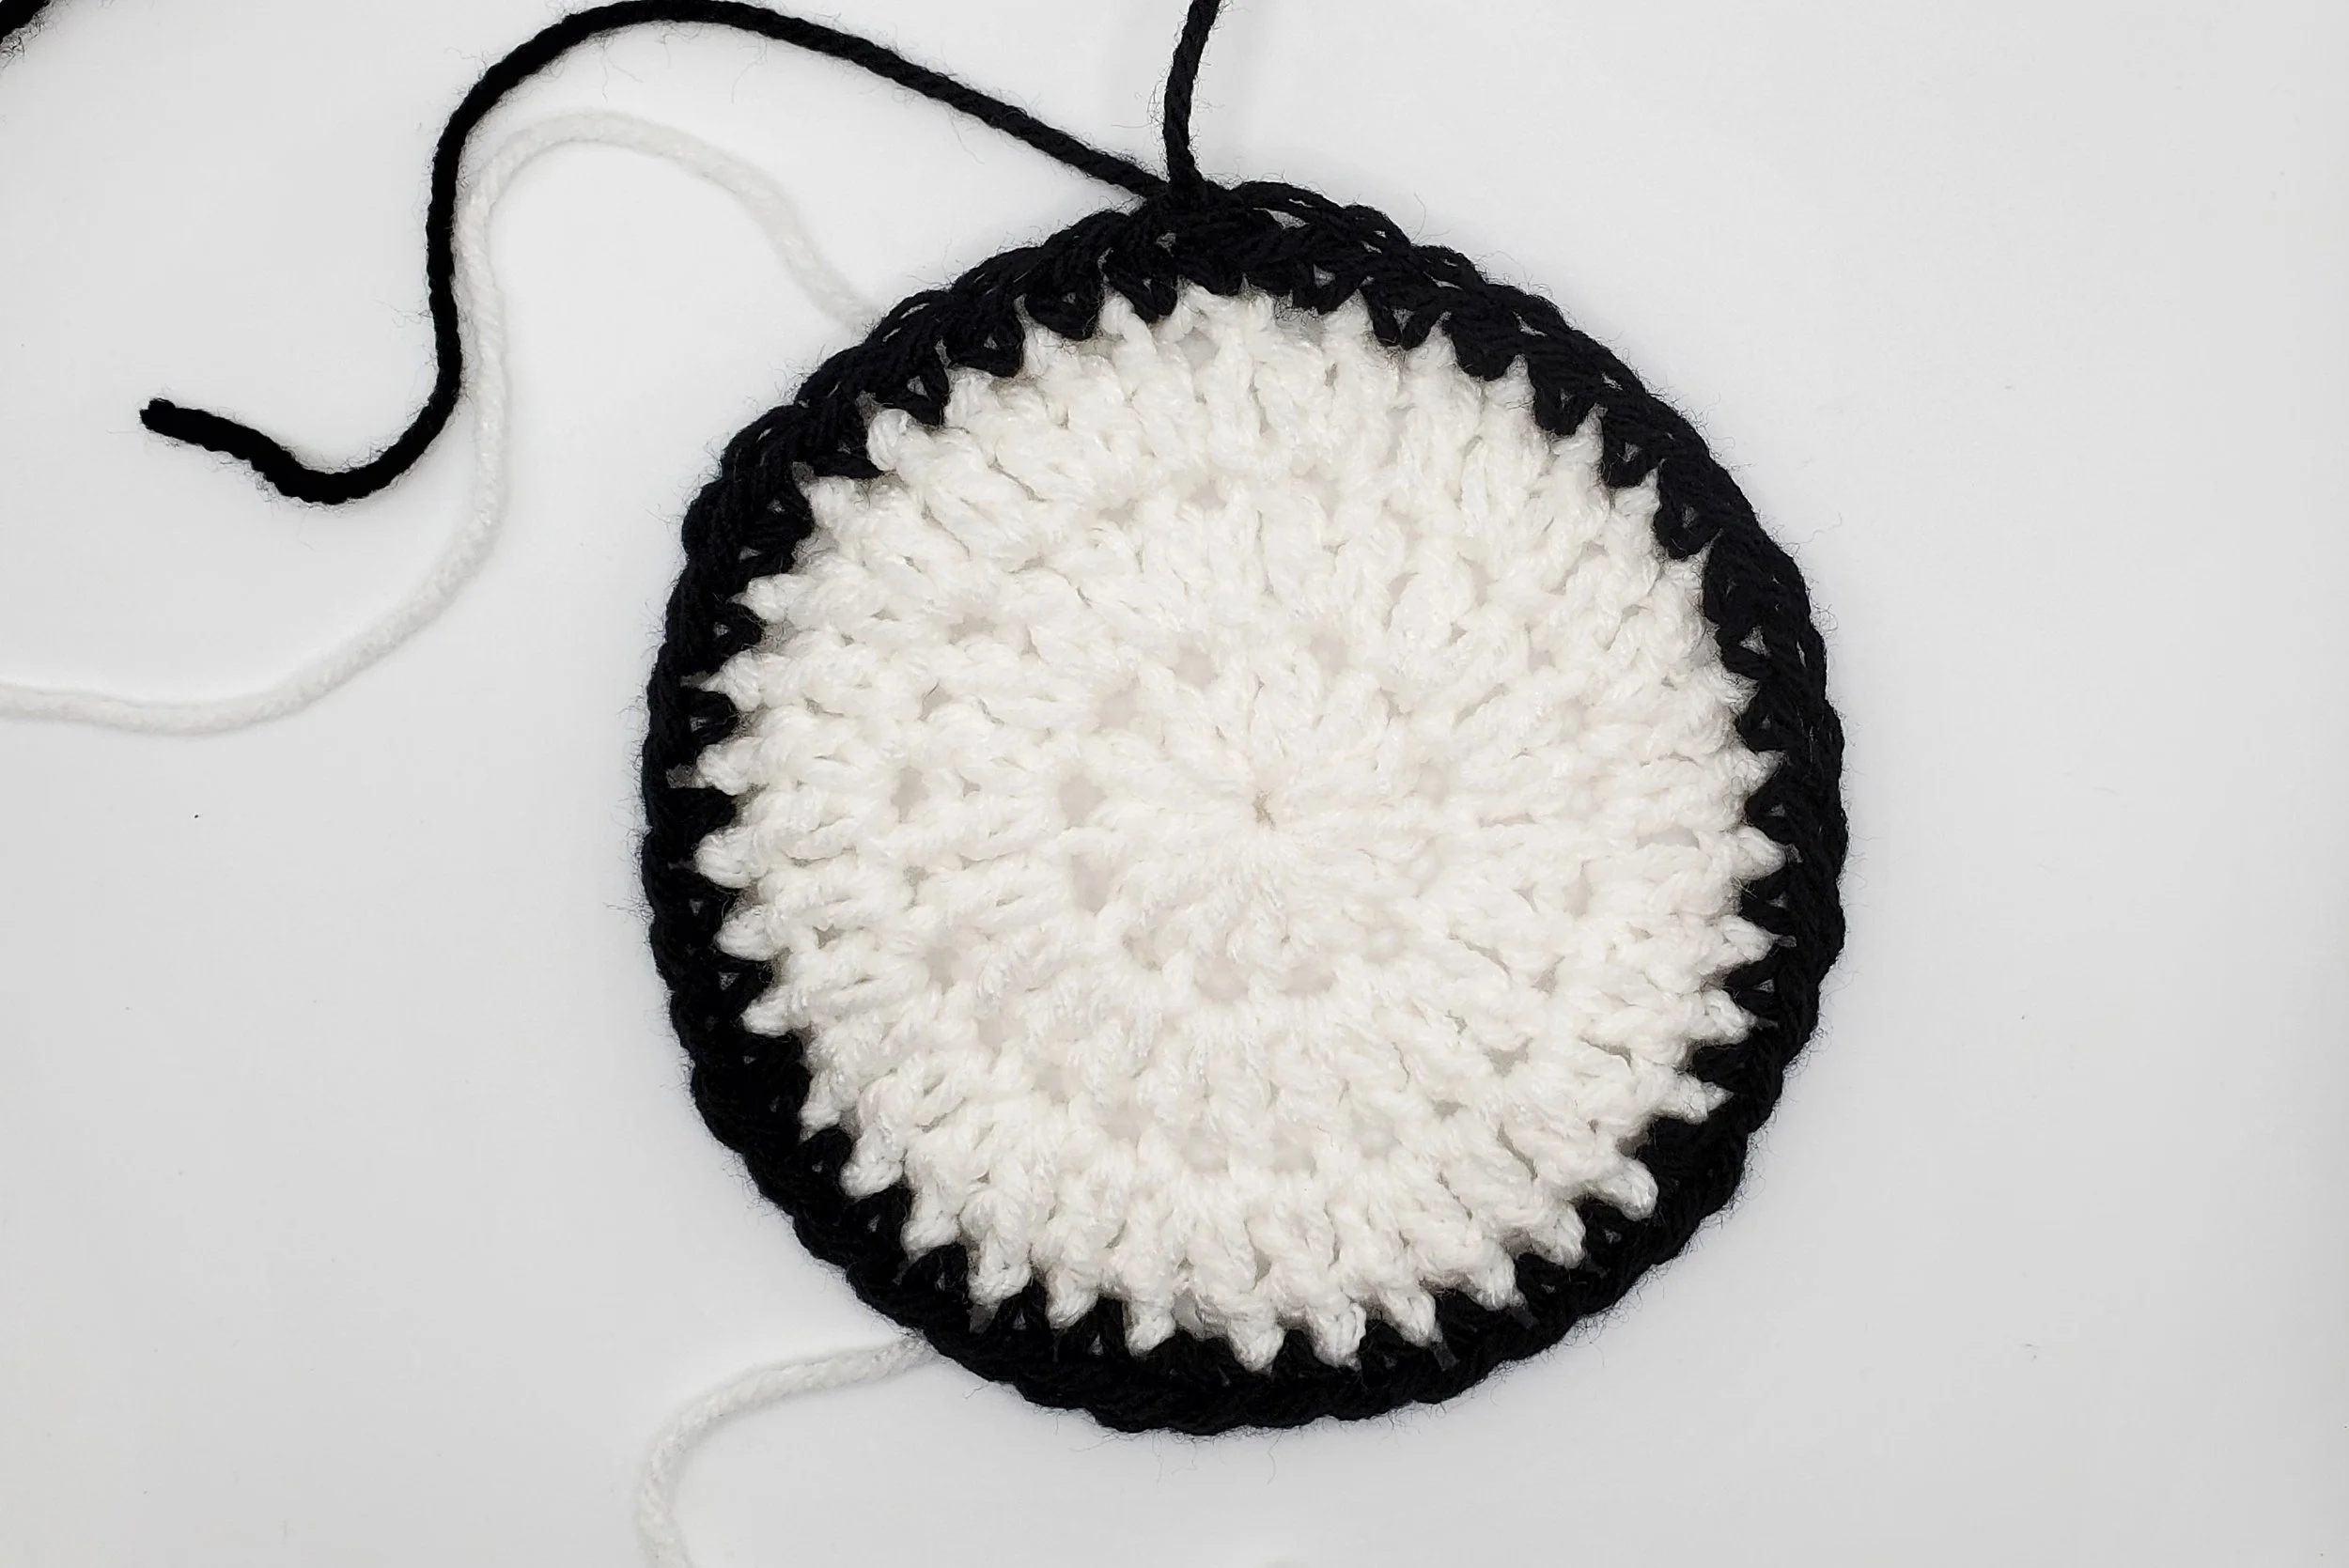
Round 1: mc, dc 12. Pull tight, sl st to first dc to join. (12)
Round 2: Ch 2. 2dc in each st. Sl st to first dc to join. (24)
Round 3: Ch 2. (dc, 2dc) x12. Sl st to first dc to join. (36)
Measure here for gauge. Your circle should measure 5” across to make gauge.
Center Circle Border
Round 4: Change color to black and ch 1. (sc 5, 2sc) x6. Sl st to first sc to join. Finish off. (42)
Petals
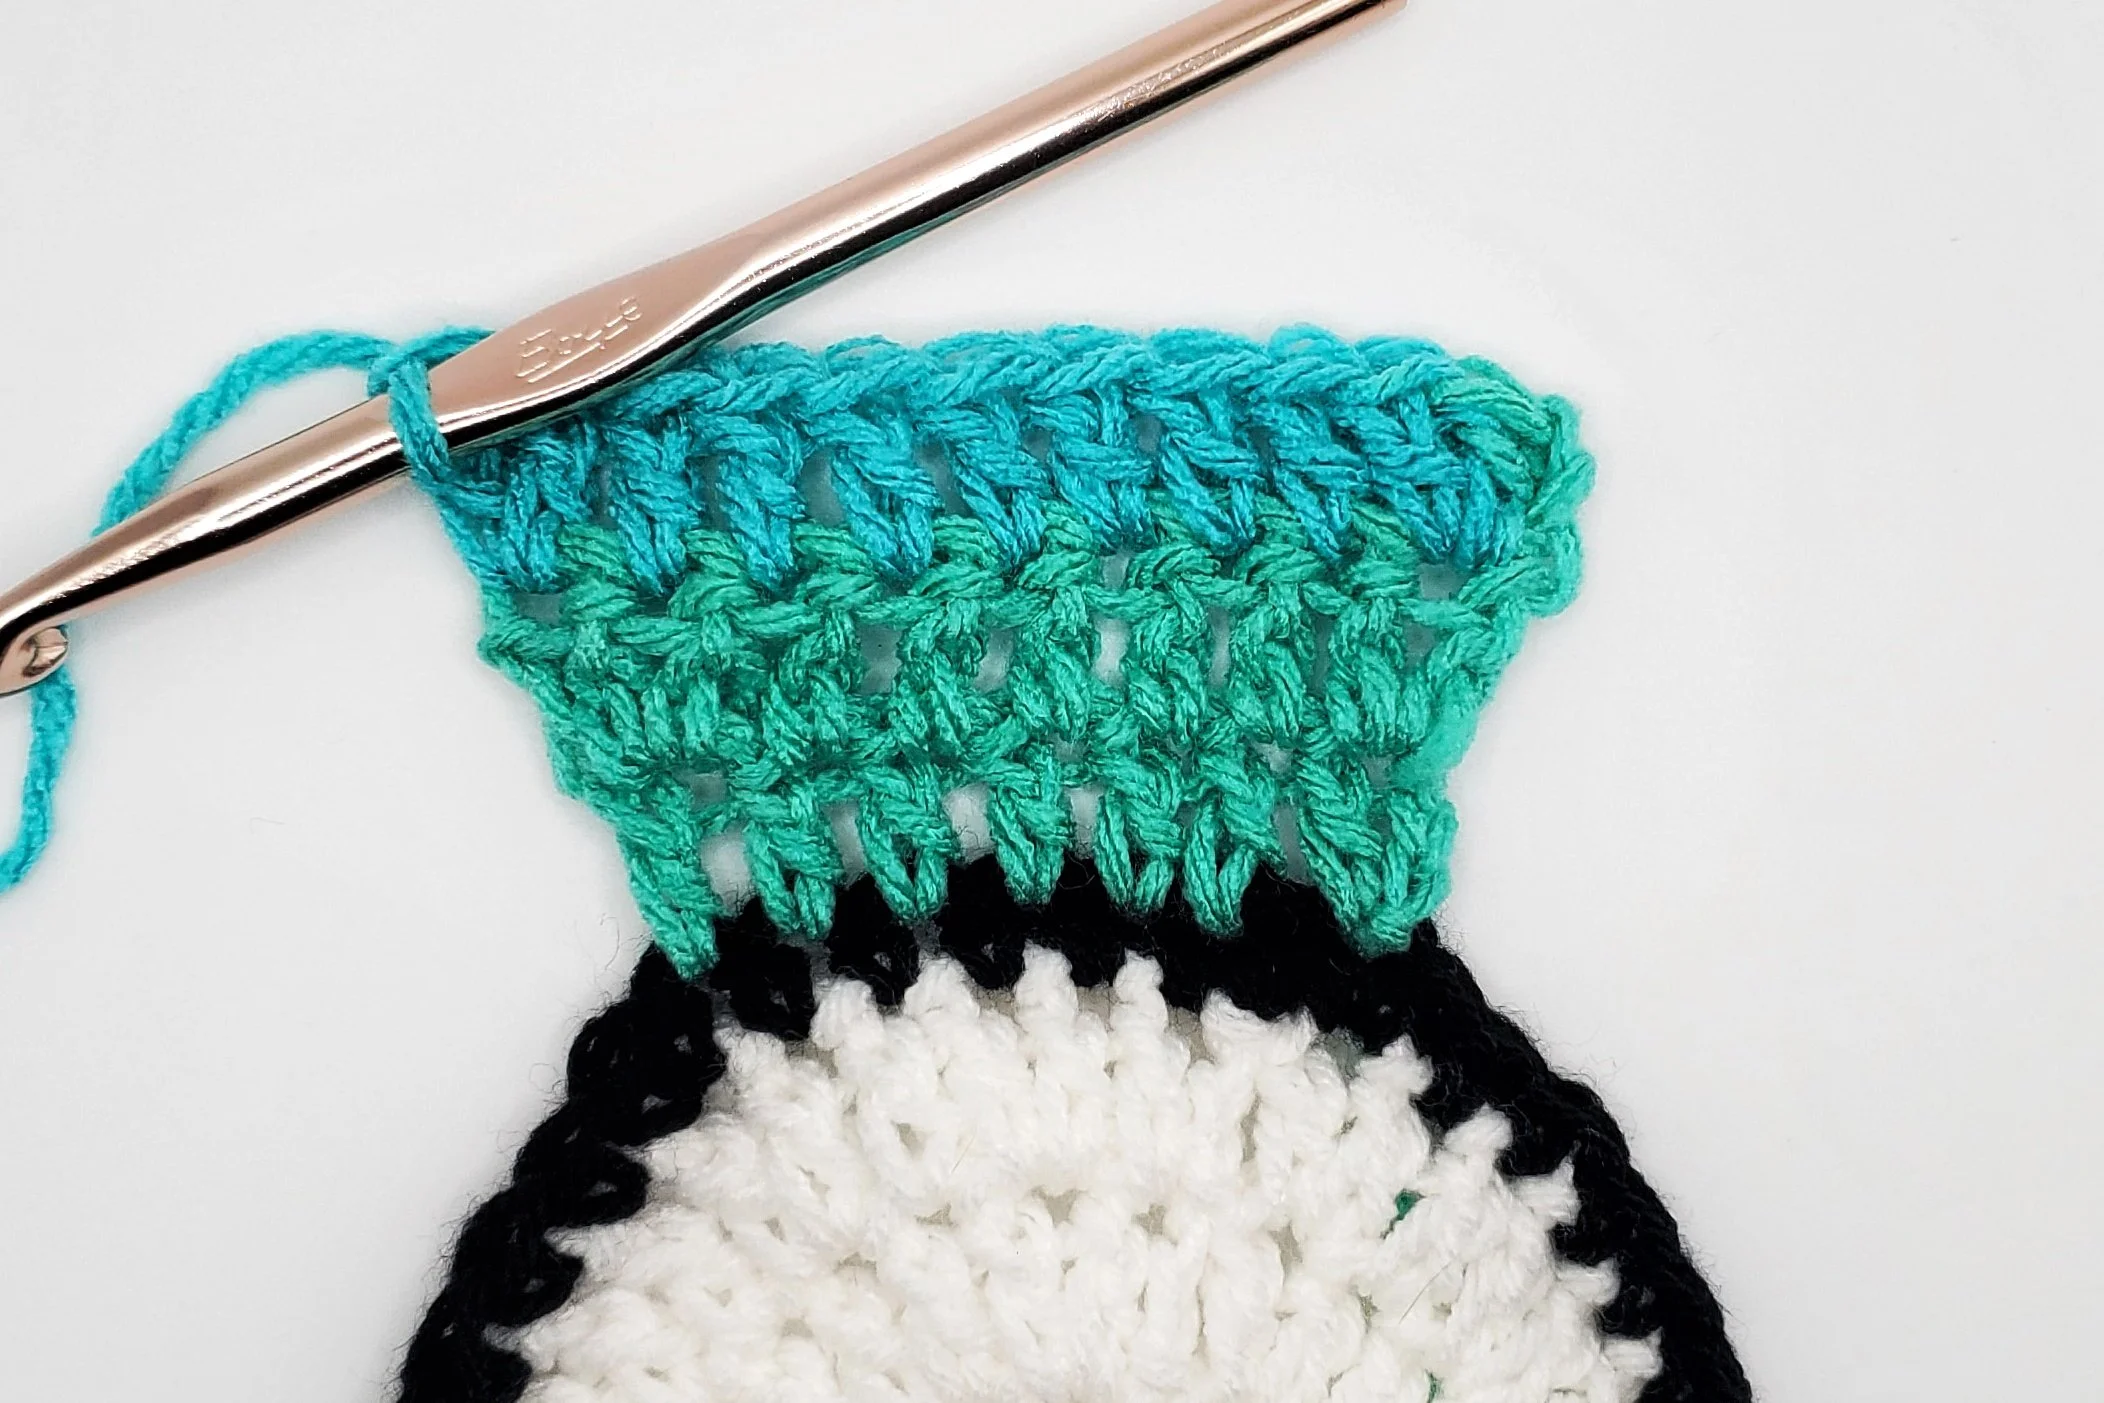
Each petal is made individually, working outward from the center circle. The first row of each petal is 7 dc, making room for 6 petals.
Tip: To add an additional petal, reduce each petal row by 1 dc in the center of each row.
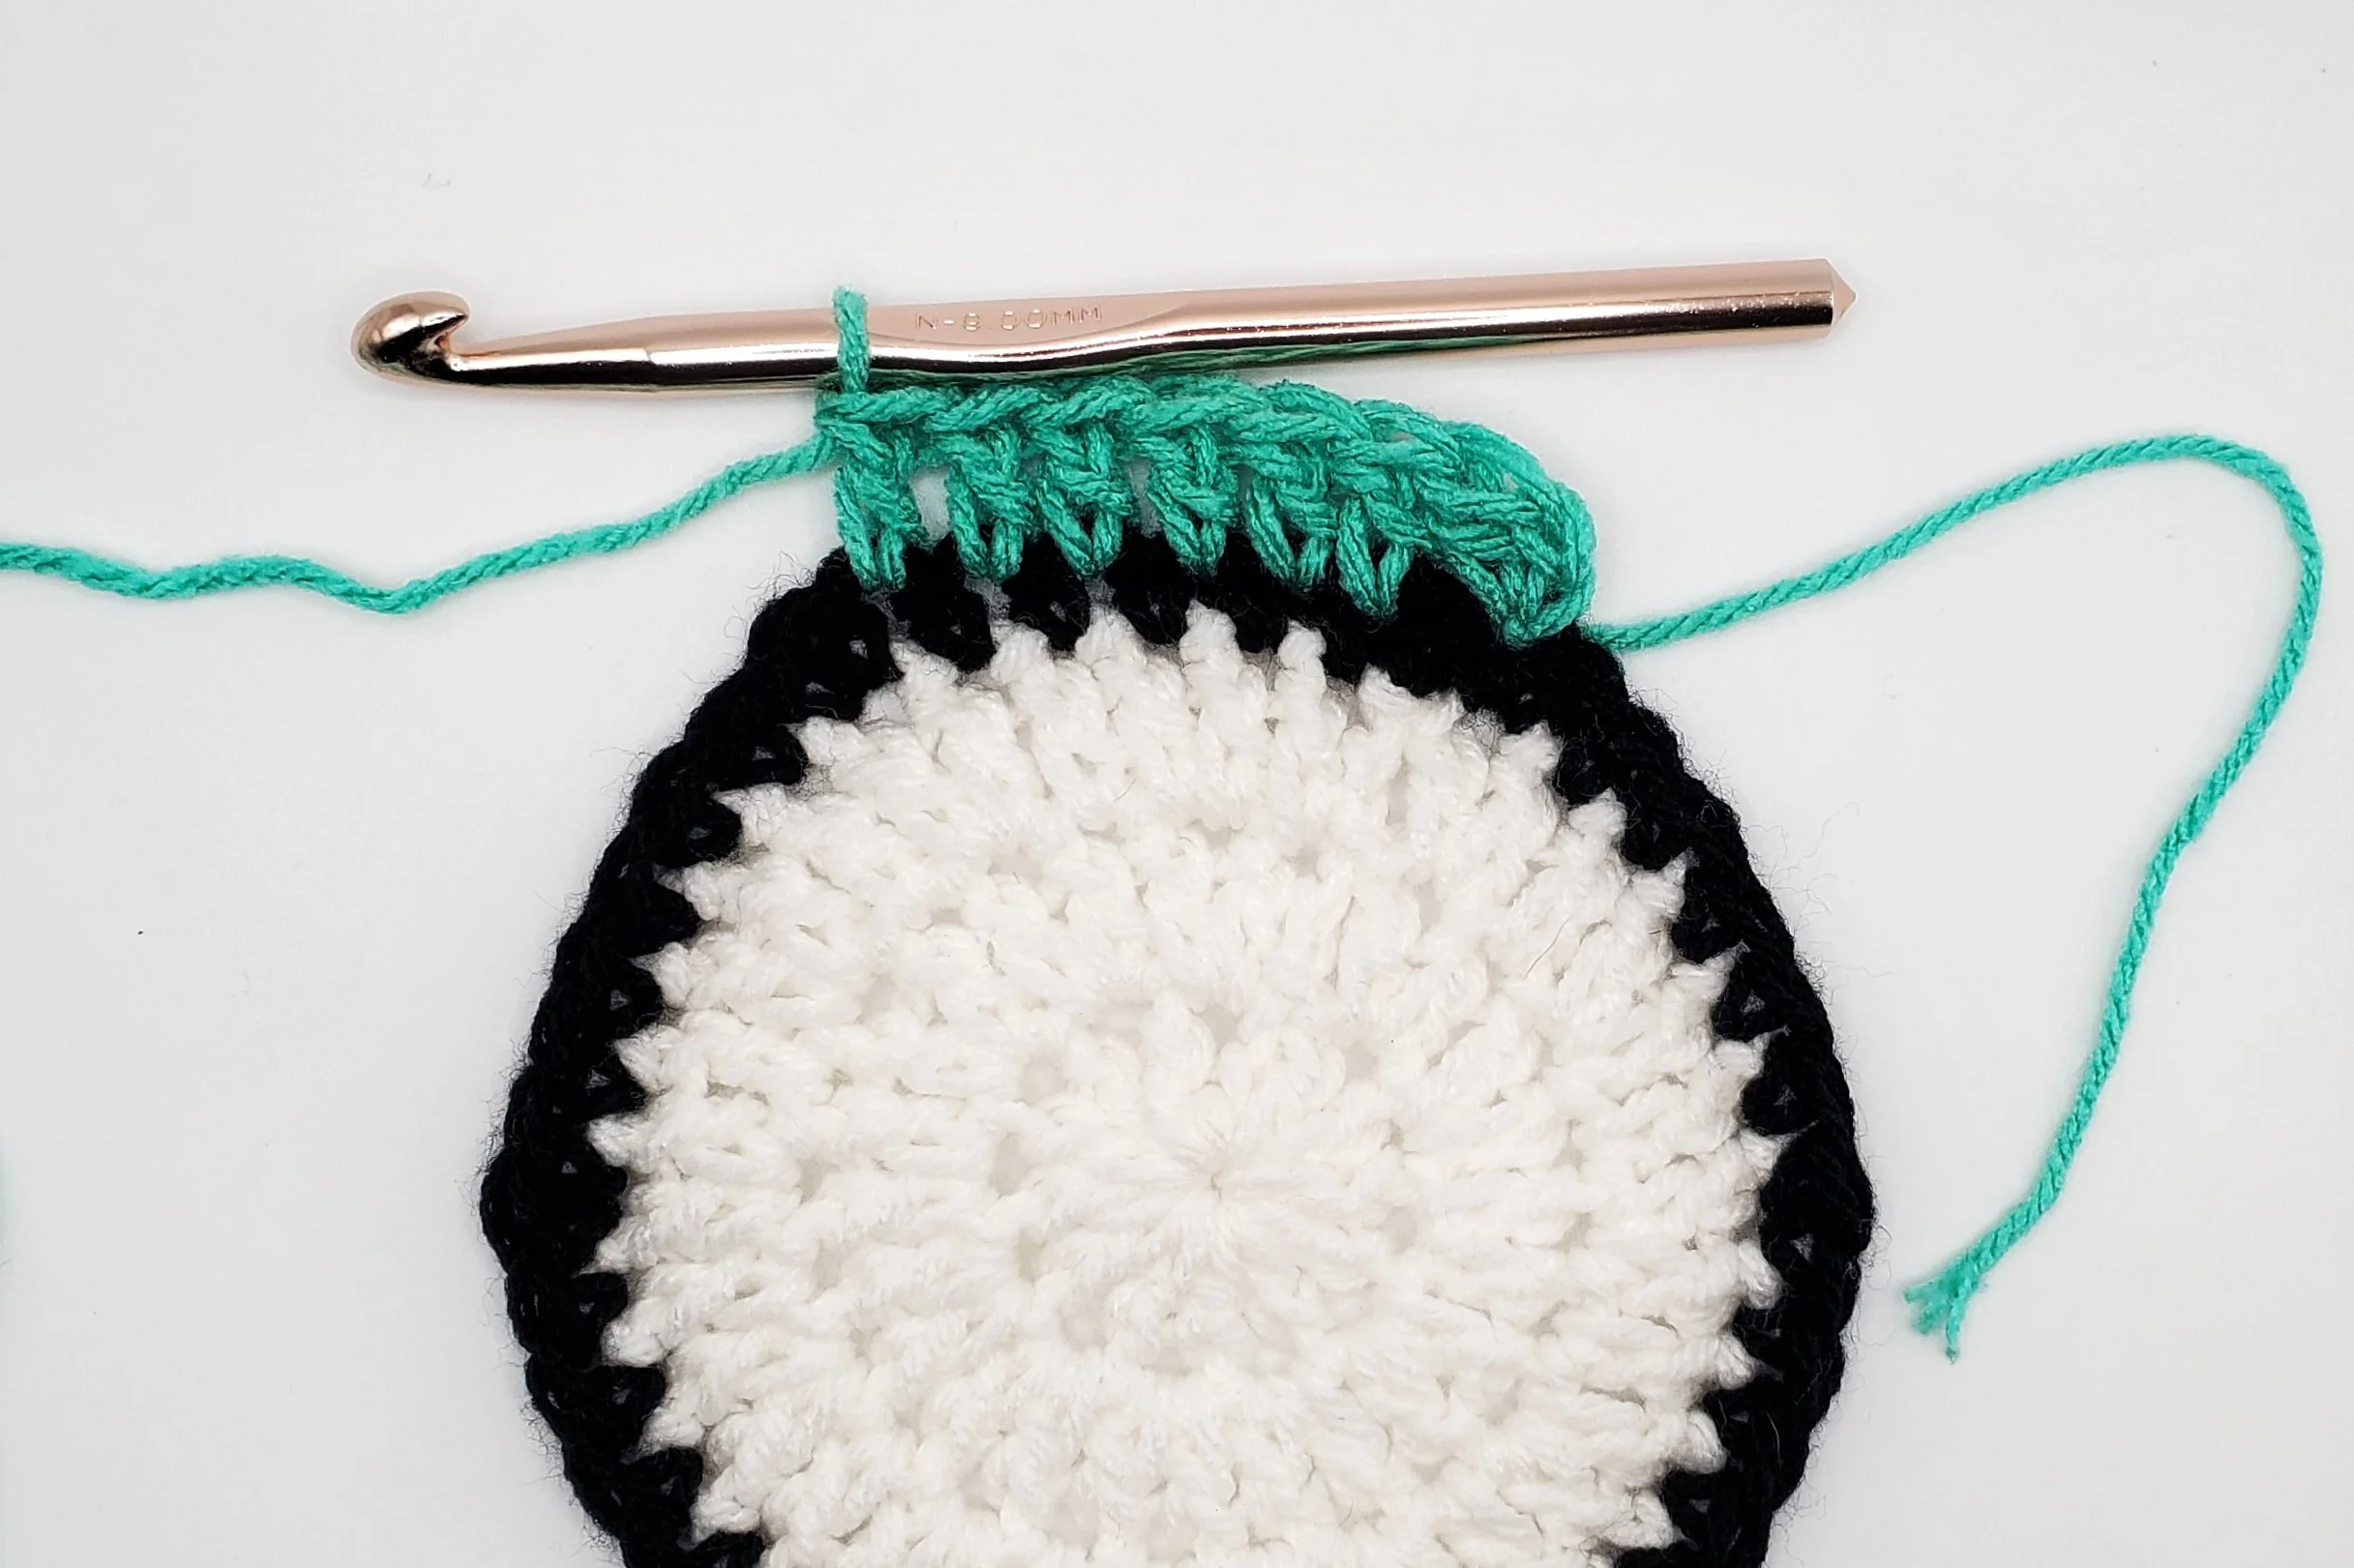
For the first petal, attach your yarn color of choice to any sc around the border of the center circle (right side up).
Row 1: Ch 2, dc in the same st. dc 6. (7)
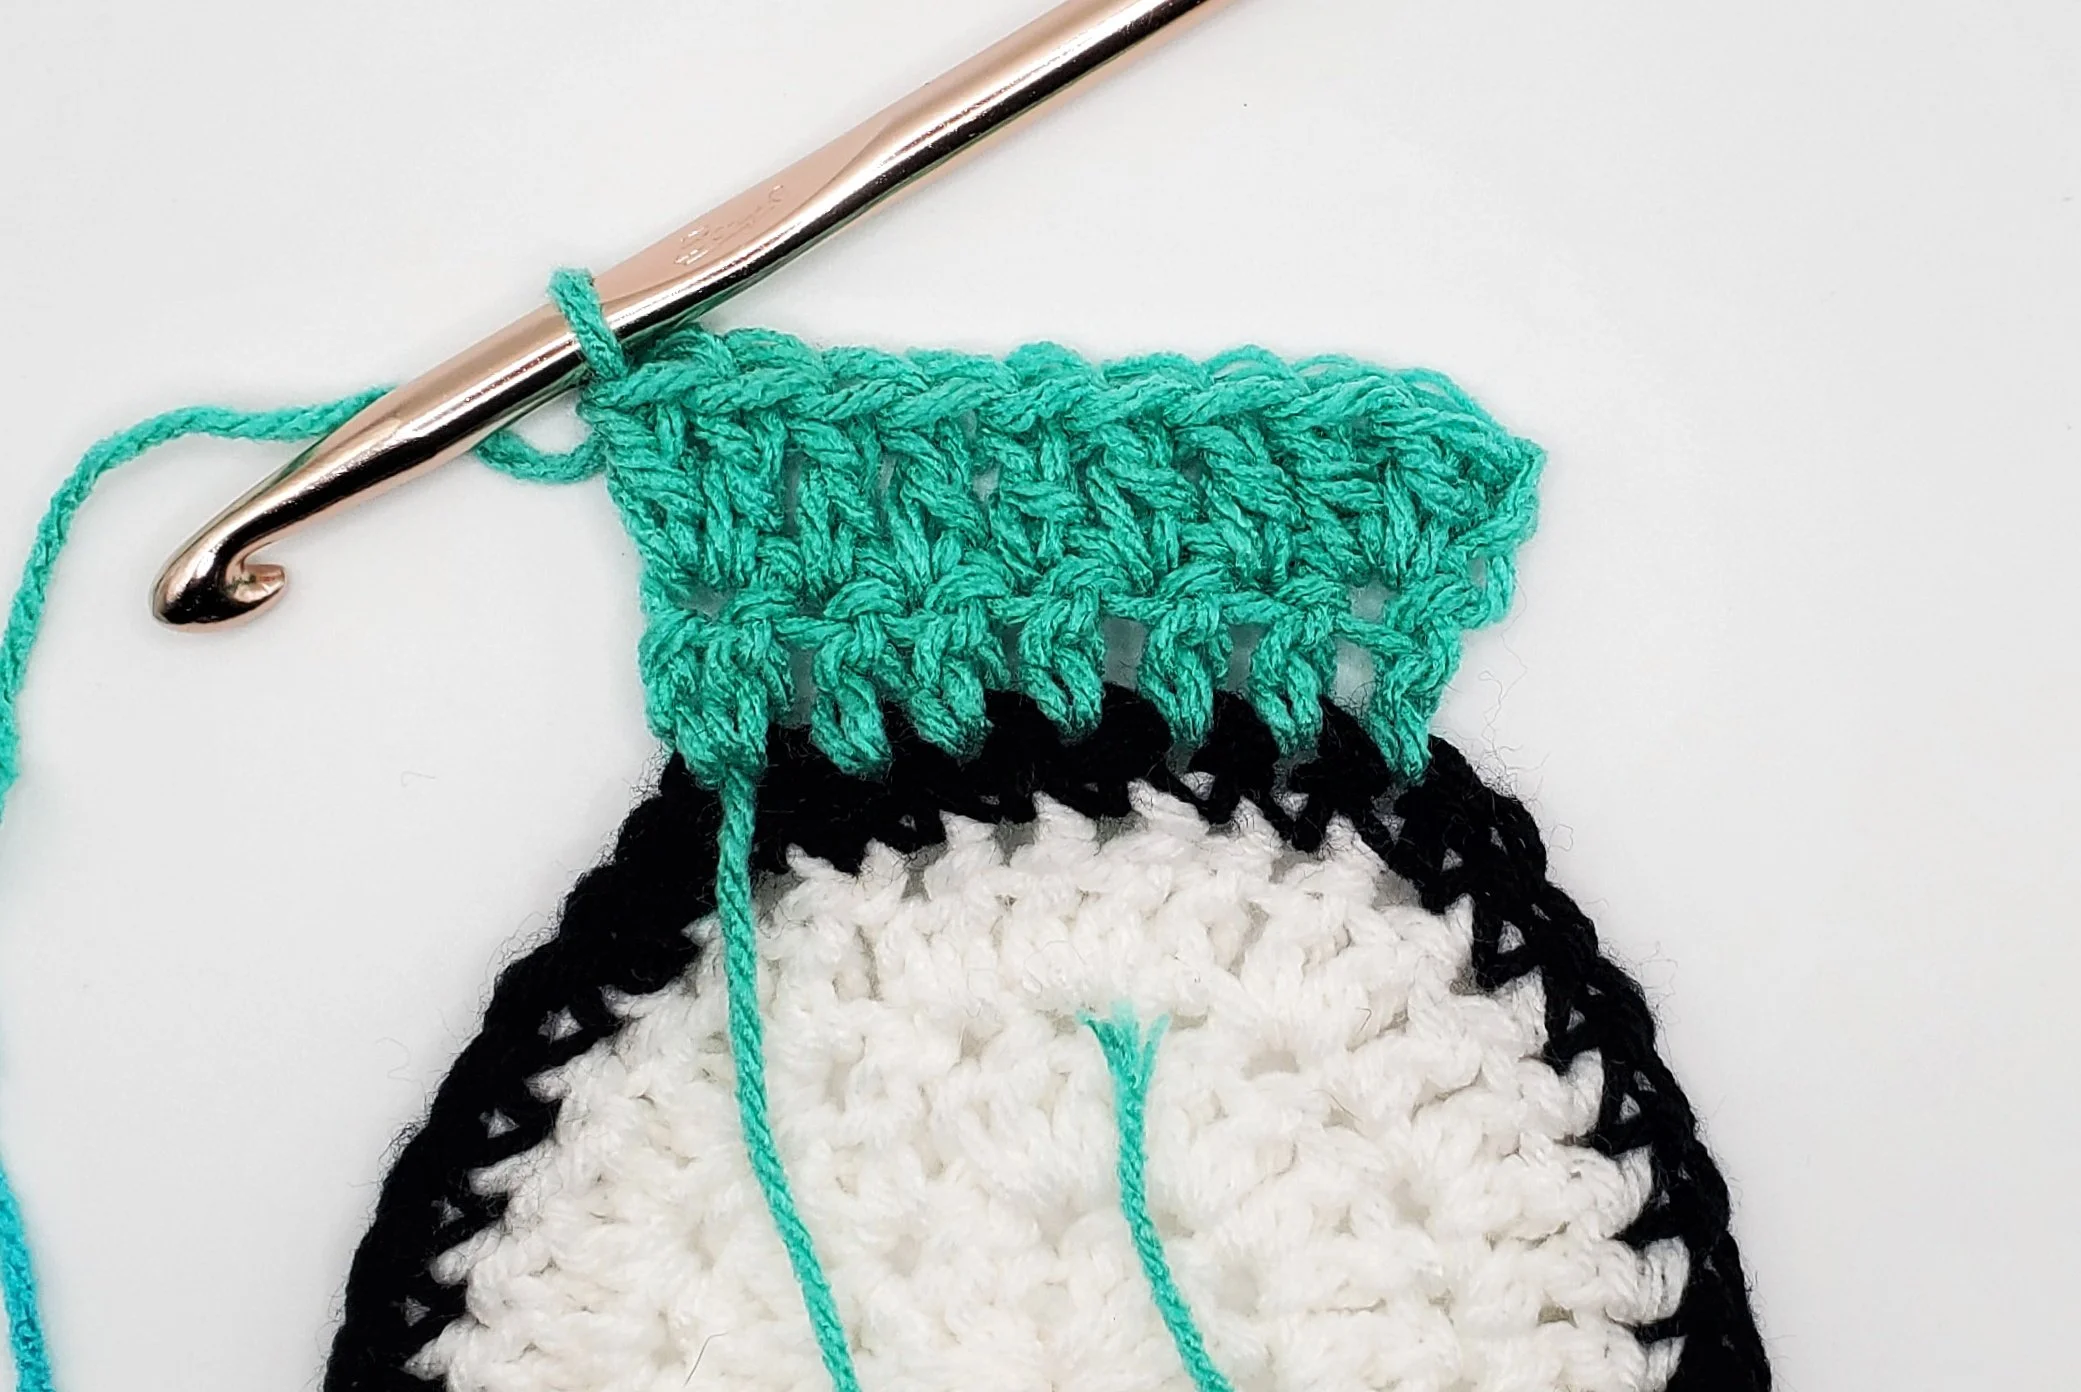
Row 2: Ch 2 & turn. 2dc, dc 5, 2dc. (9)
Row 3: Ch 2 & turn. 2dc, dc 7, 2dc. (11)
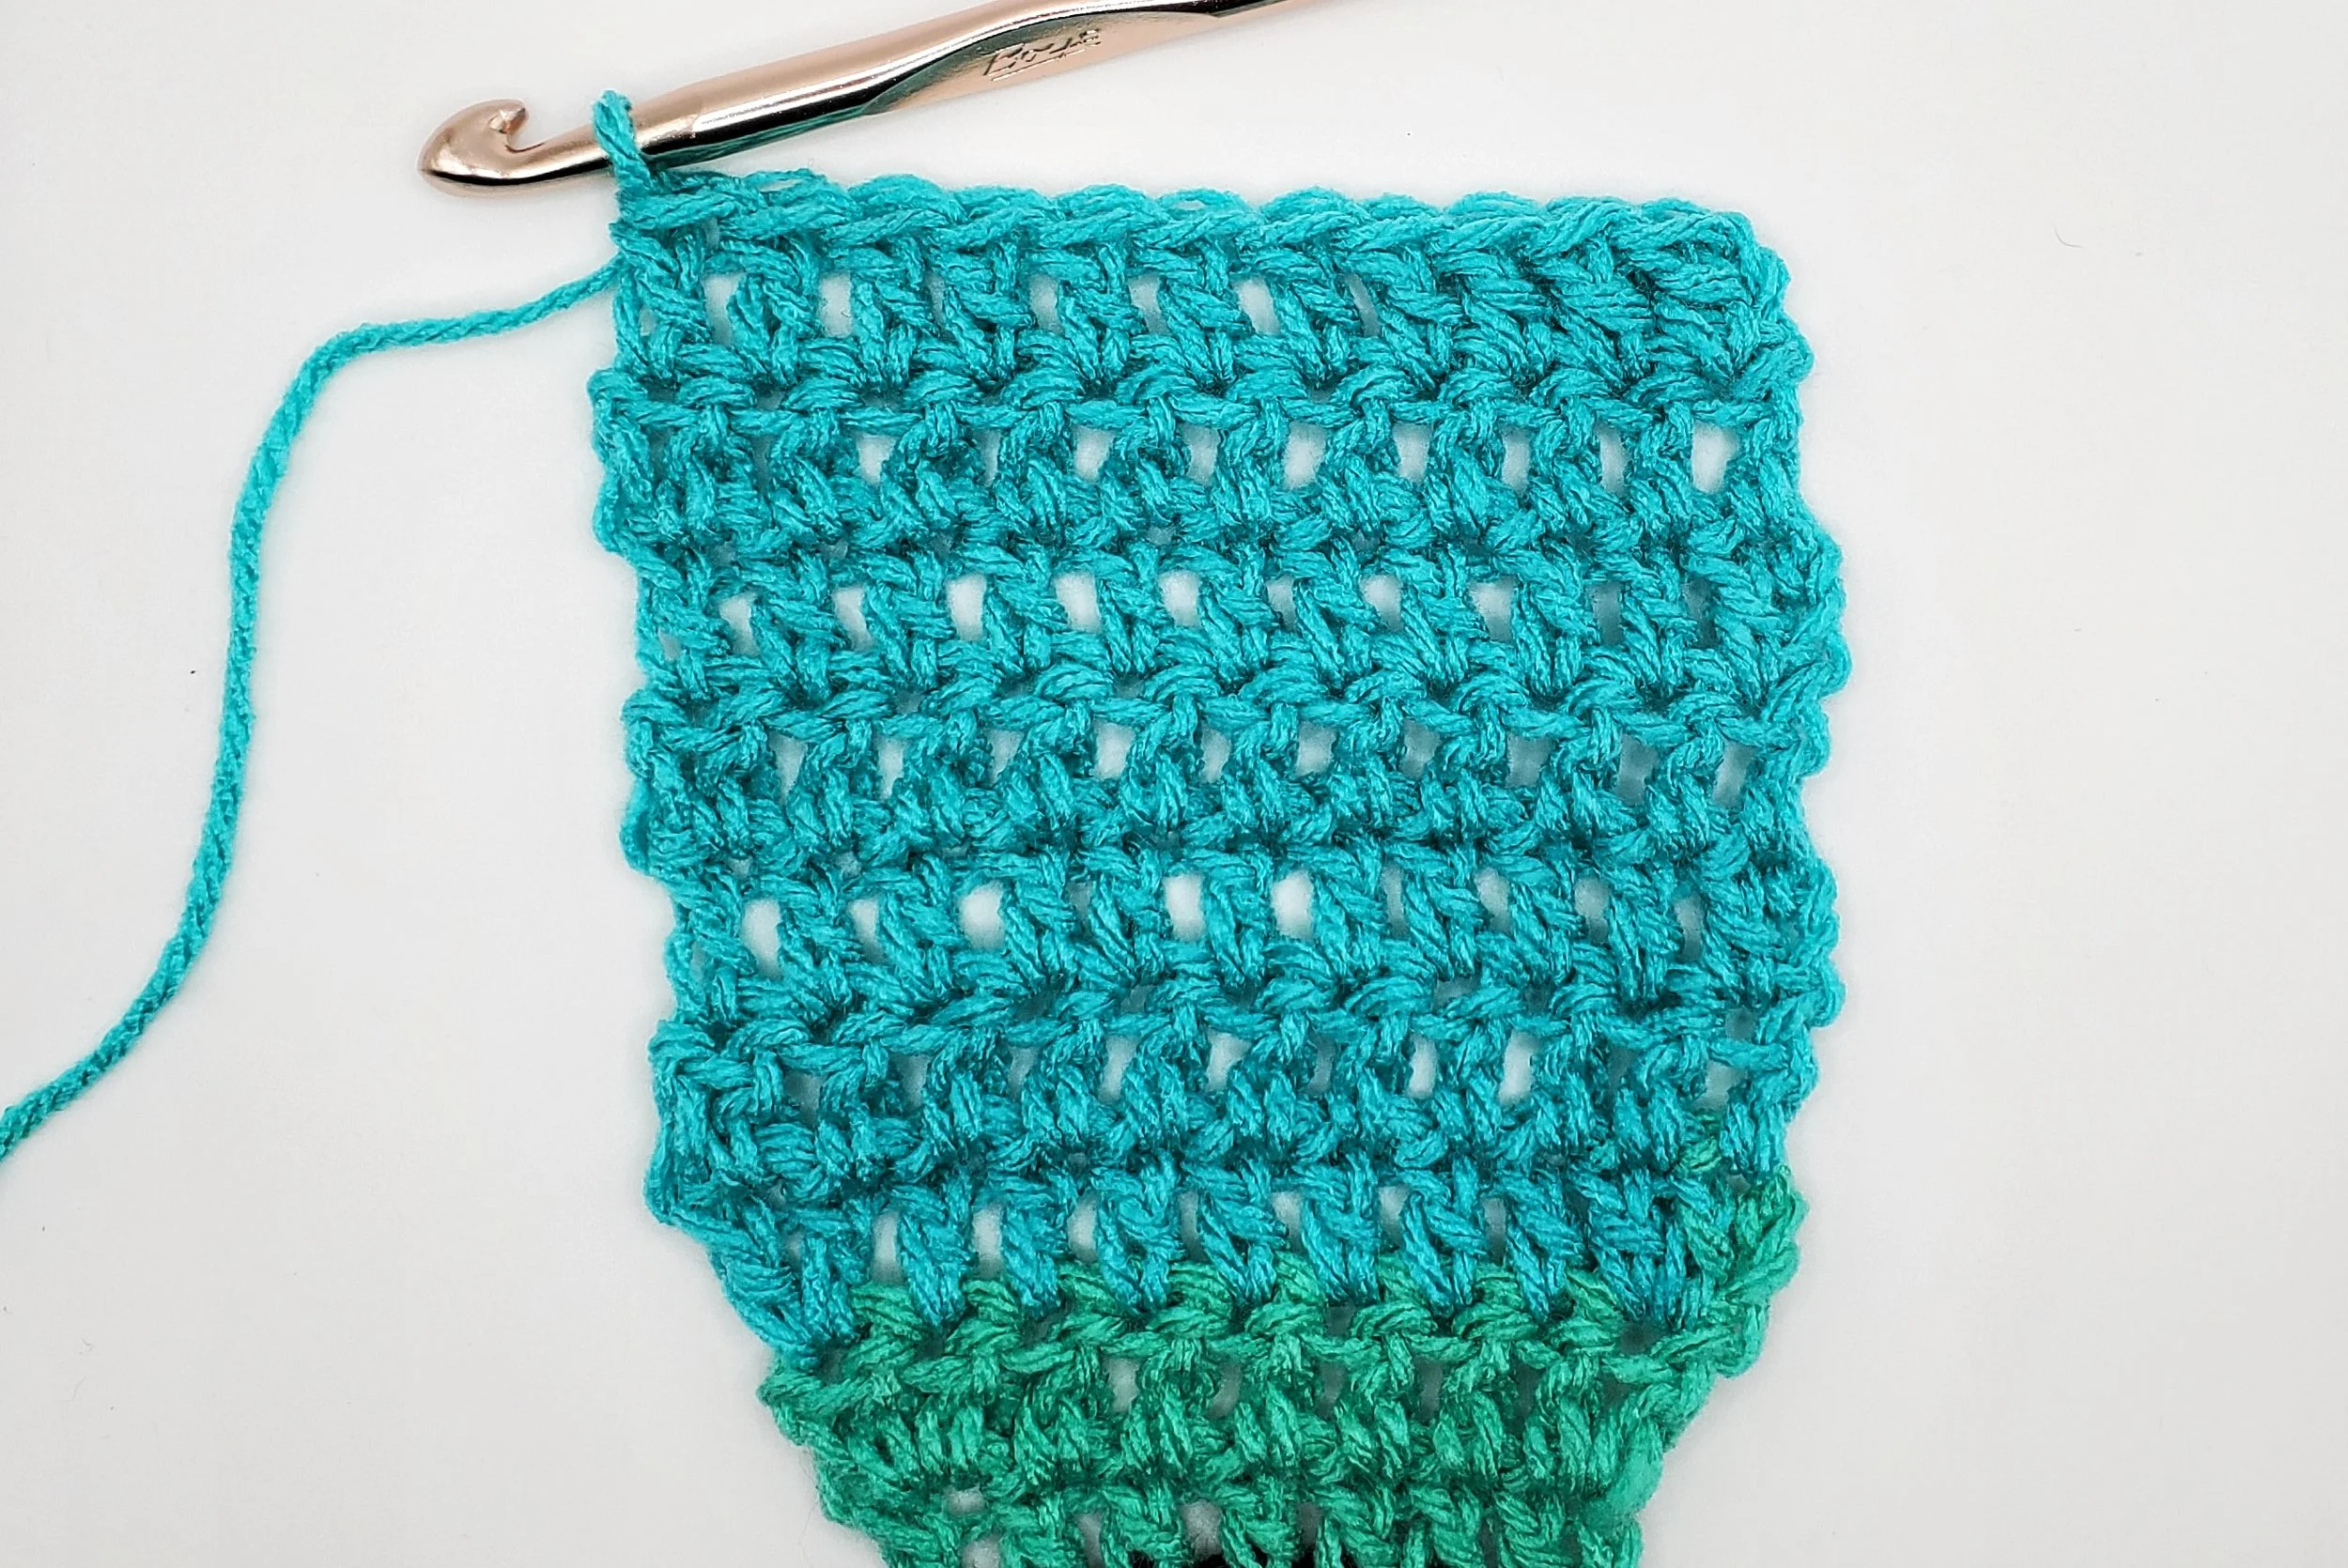
Rows 4-9: Ch 2 & turn. Dc in each st across. (11)
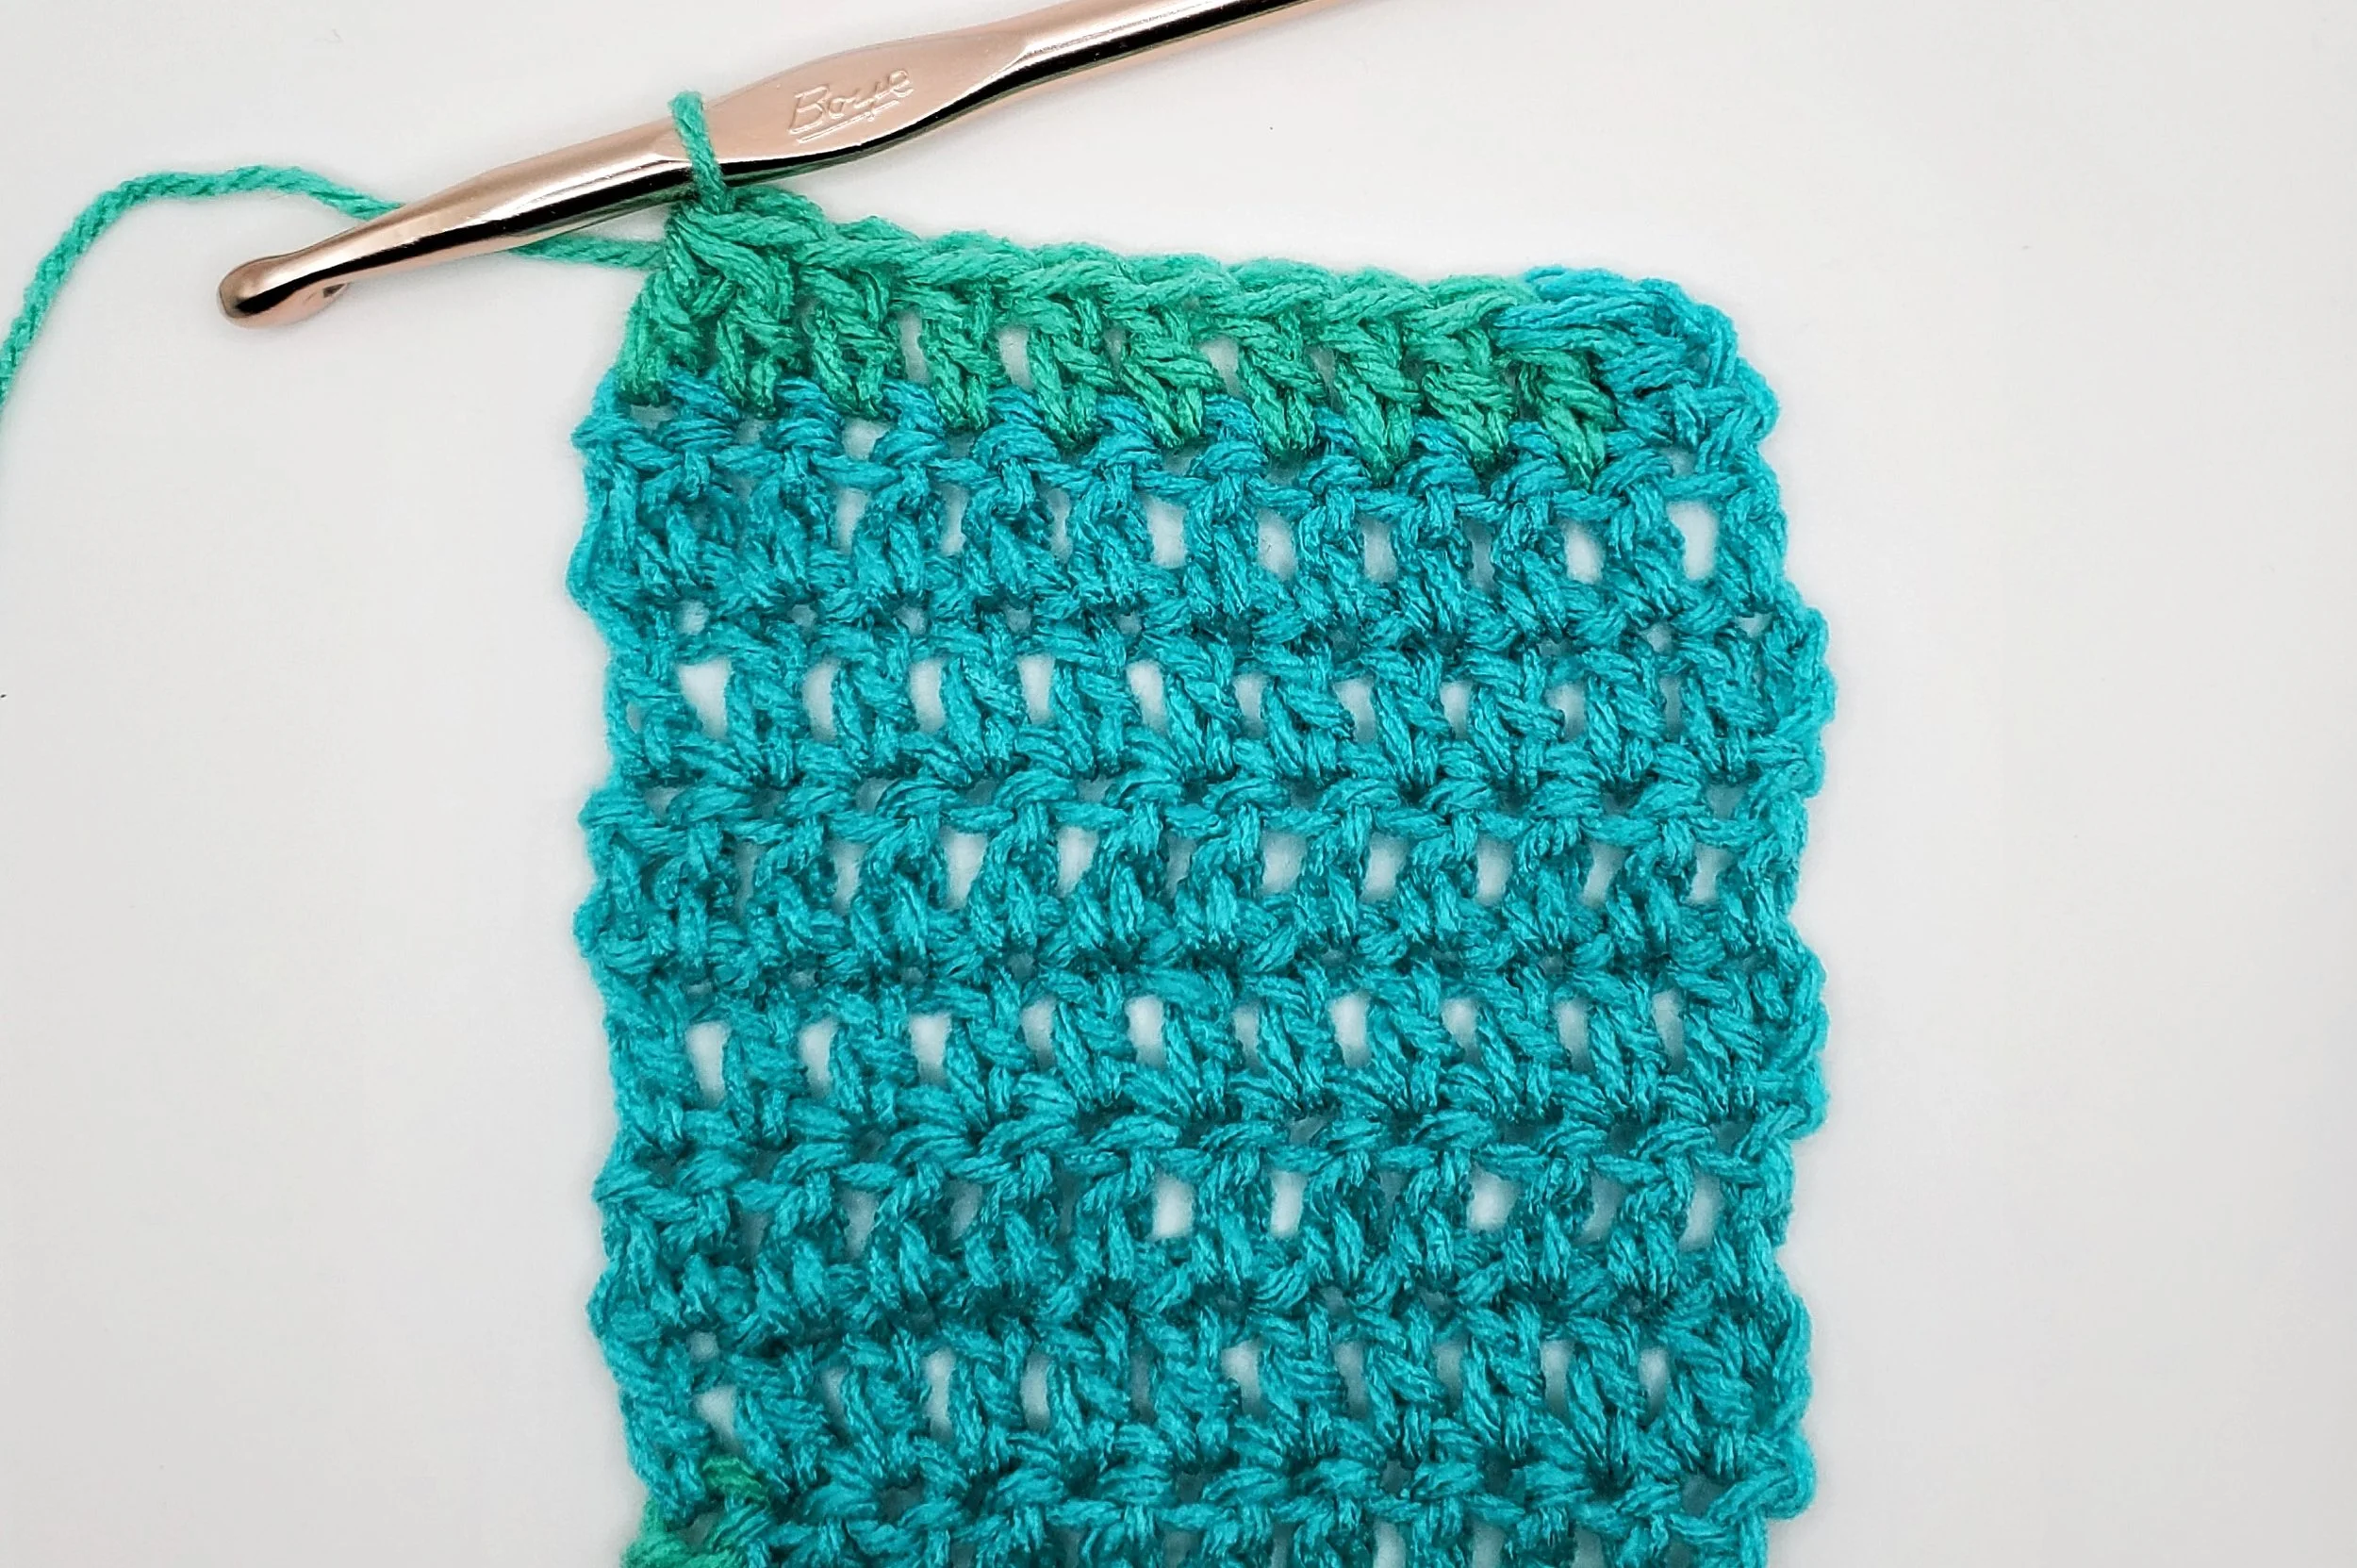
Row 10: Ch 2 & turn. Dc2tog, dc 7, dc2tog. (9)
Row 11: Ch 2 & turn. Dc2tog, dc 5, dc2tog. (7)
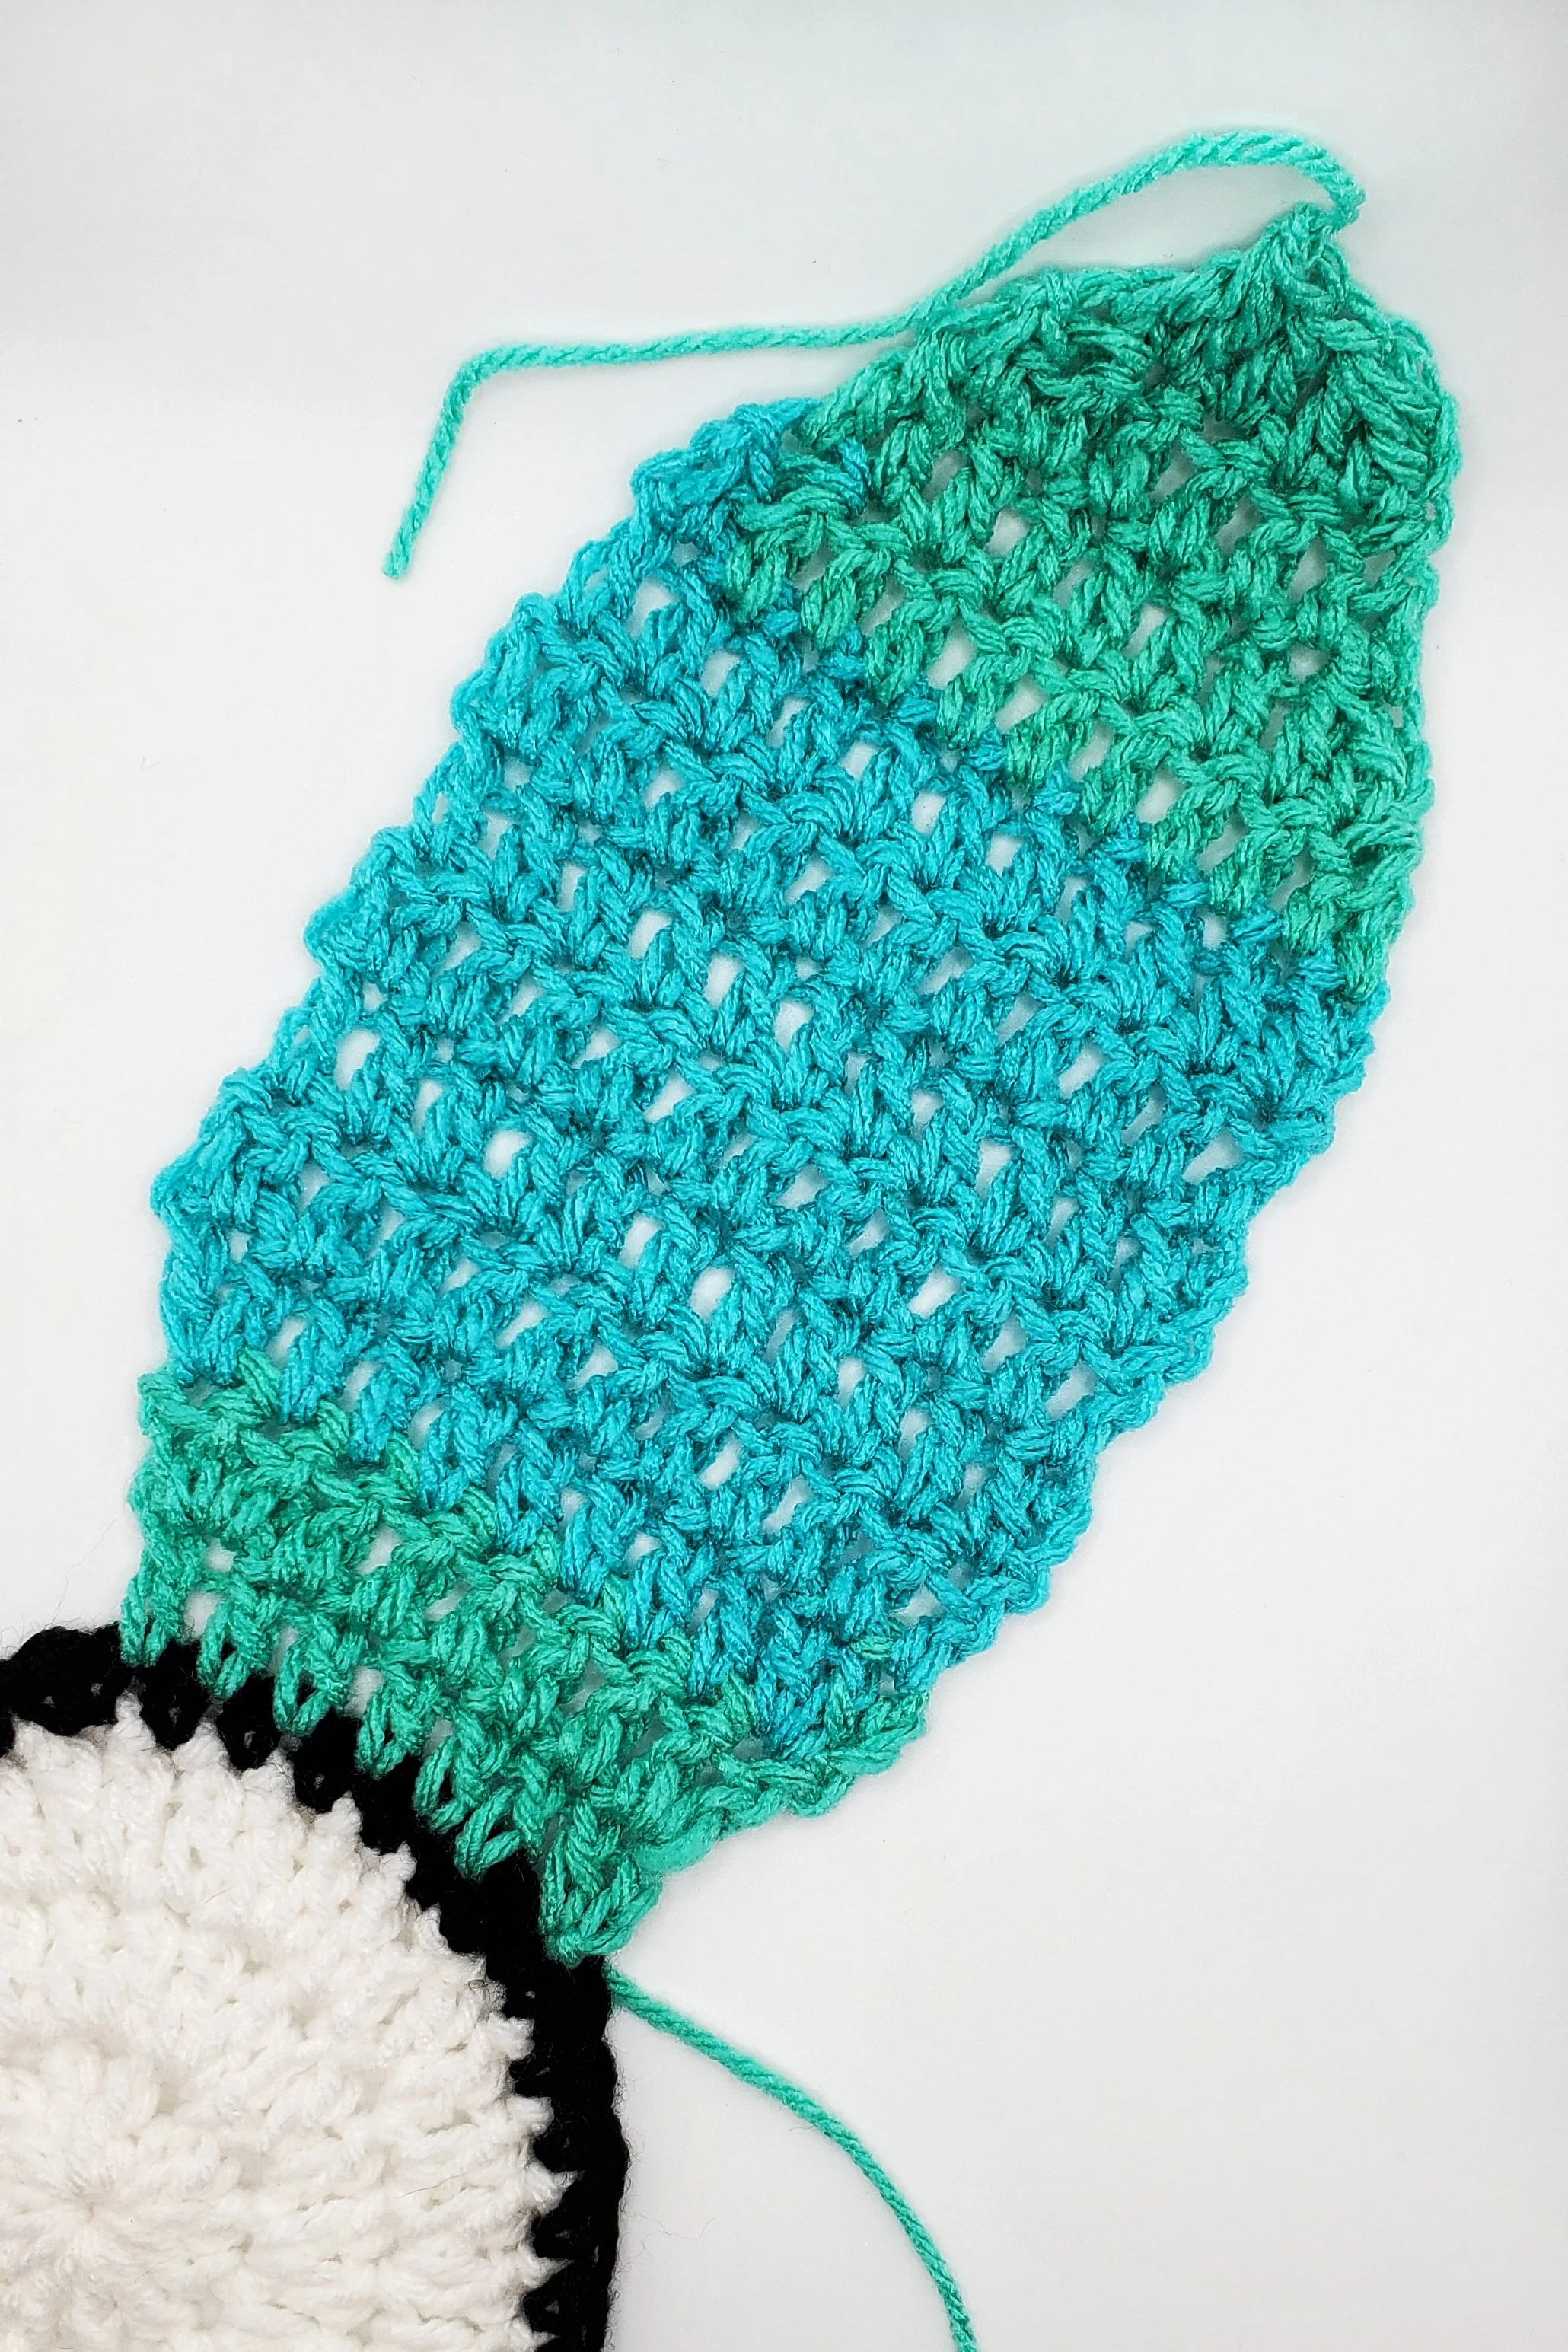
Row 12: Ch 2 & turn. Dc2tog, dc 3, dc2tog. (5)
Row 13: Ch 2 & turn. Dc2tog, dc 1, dc2tog. (3)
Finish off.
For each additional petal, attach the yarn of choice to the 1st stitch to the left of the previous petal (right side up). Repeat Rows 1 through 13 until you have all 6 petals.
Edging
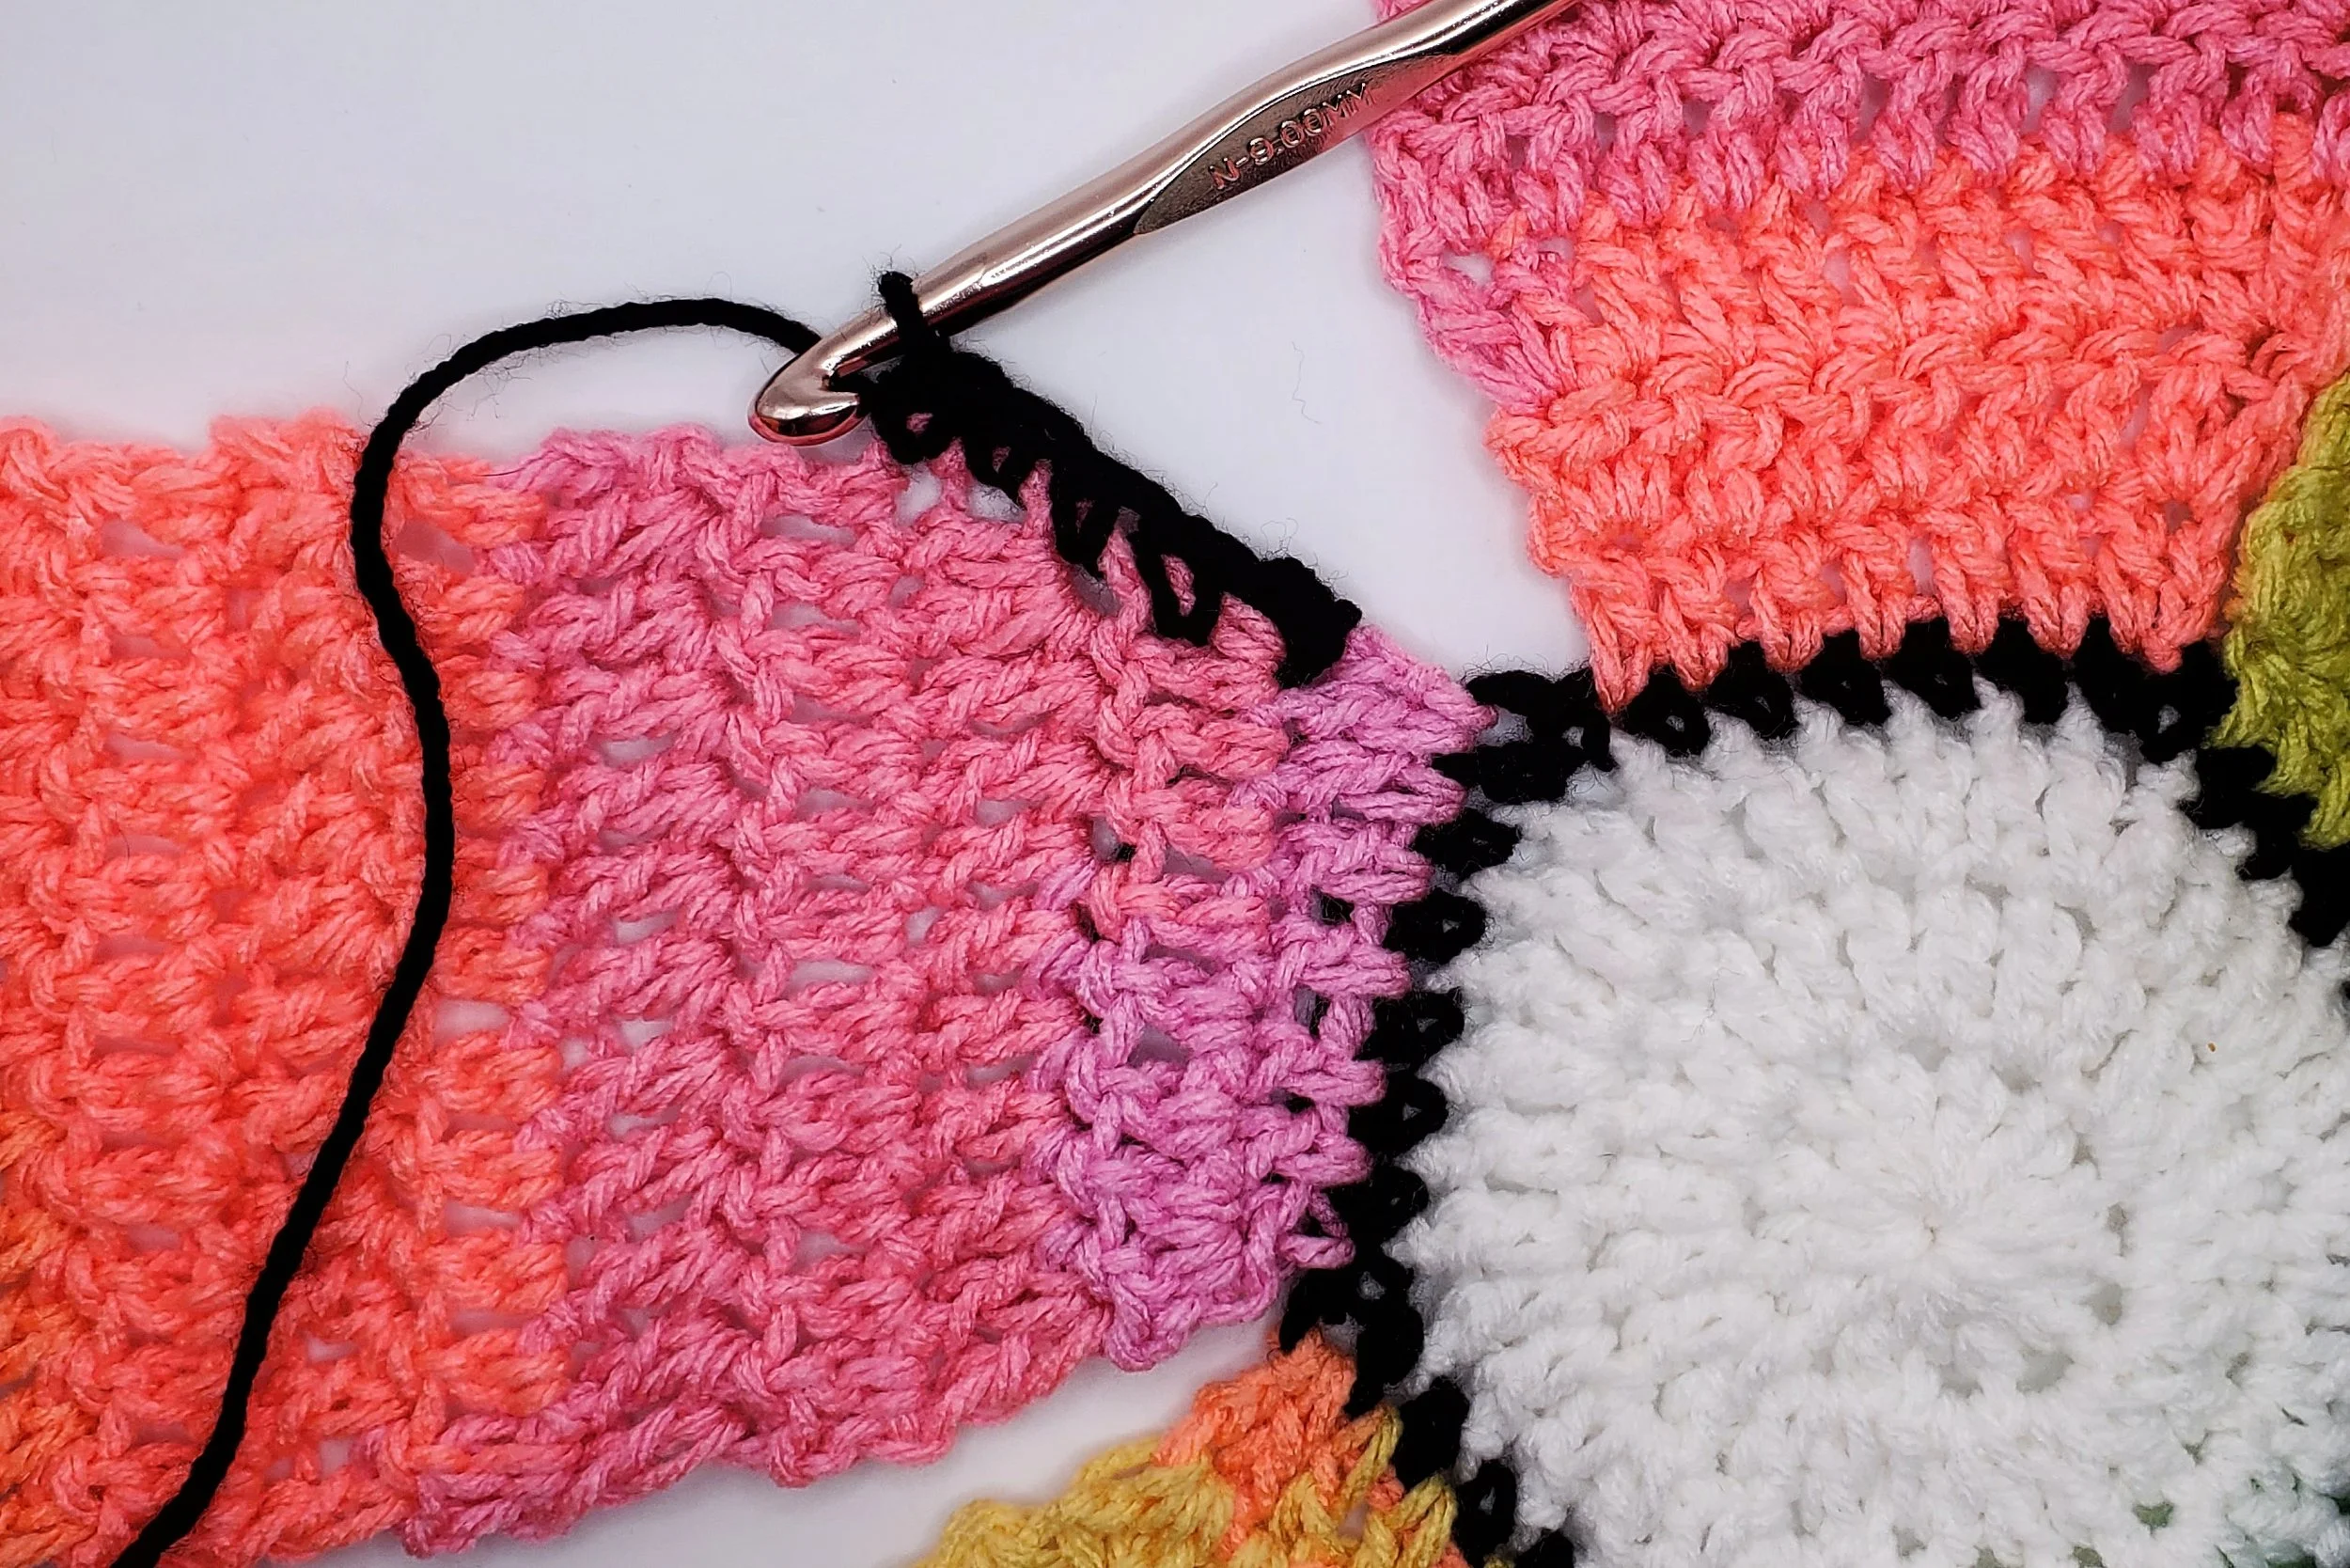
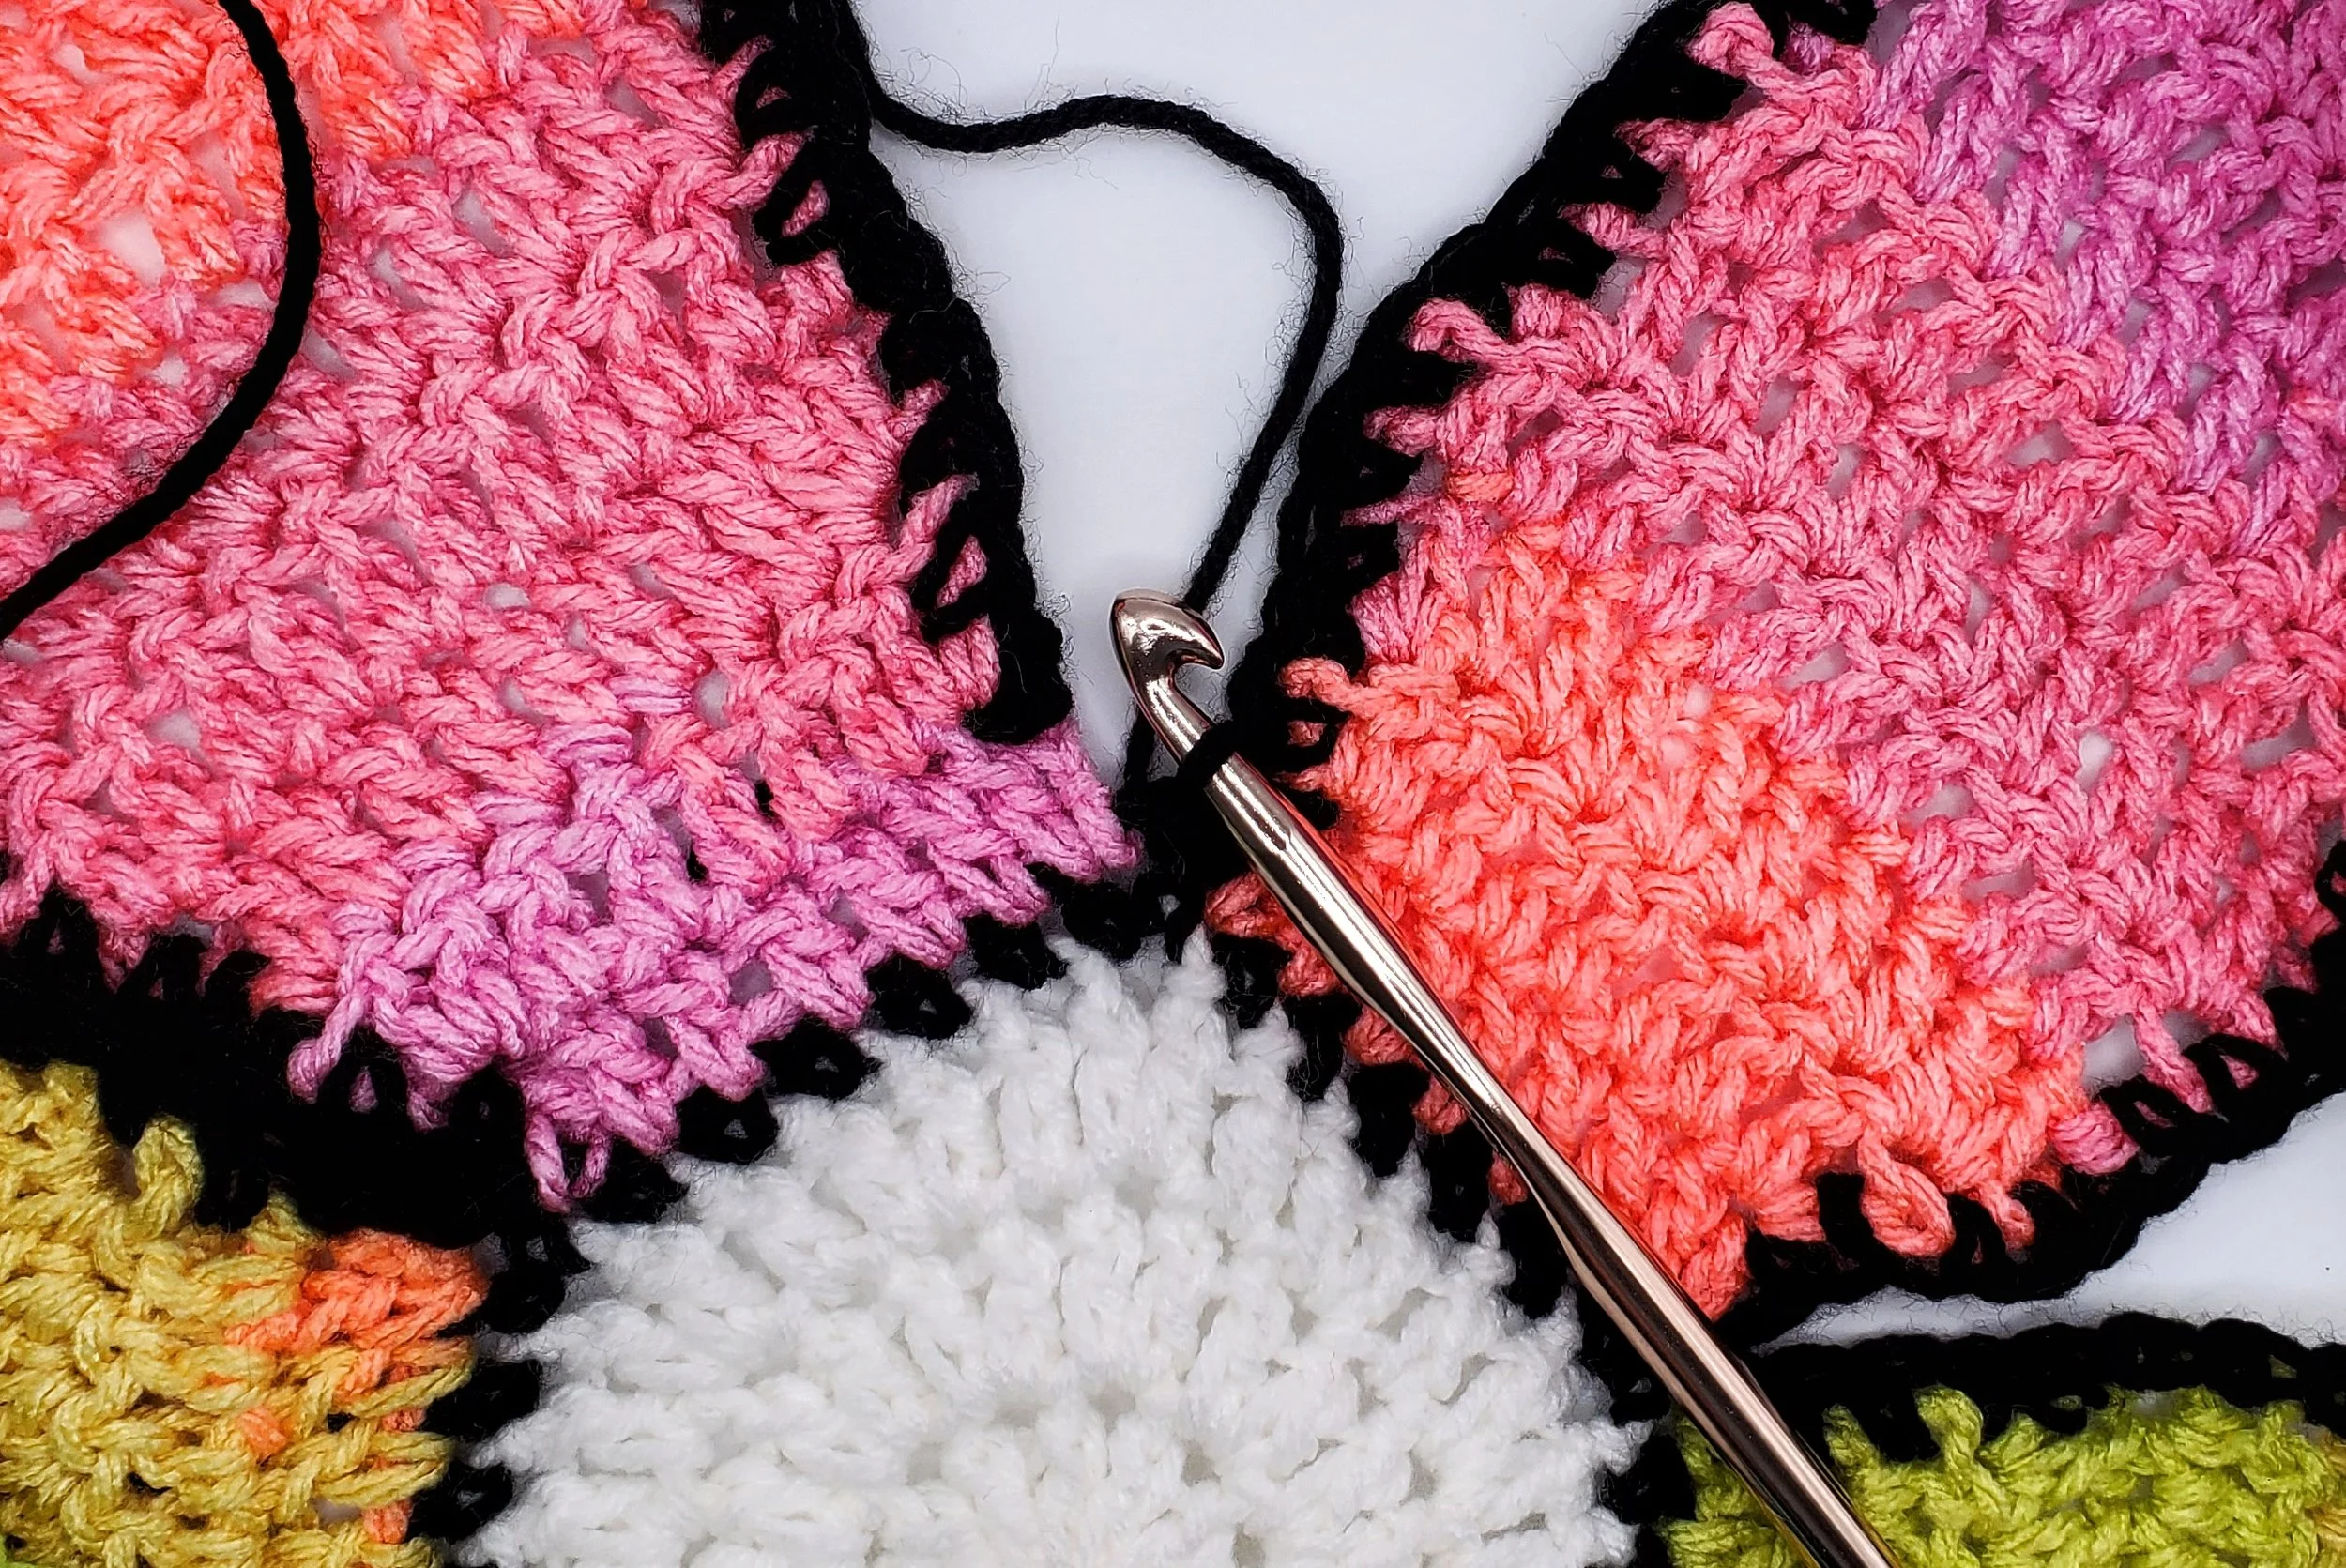
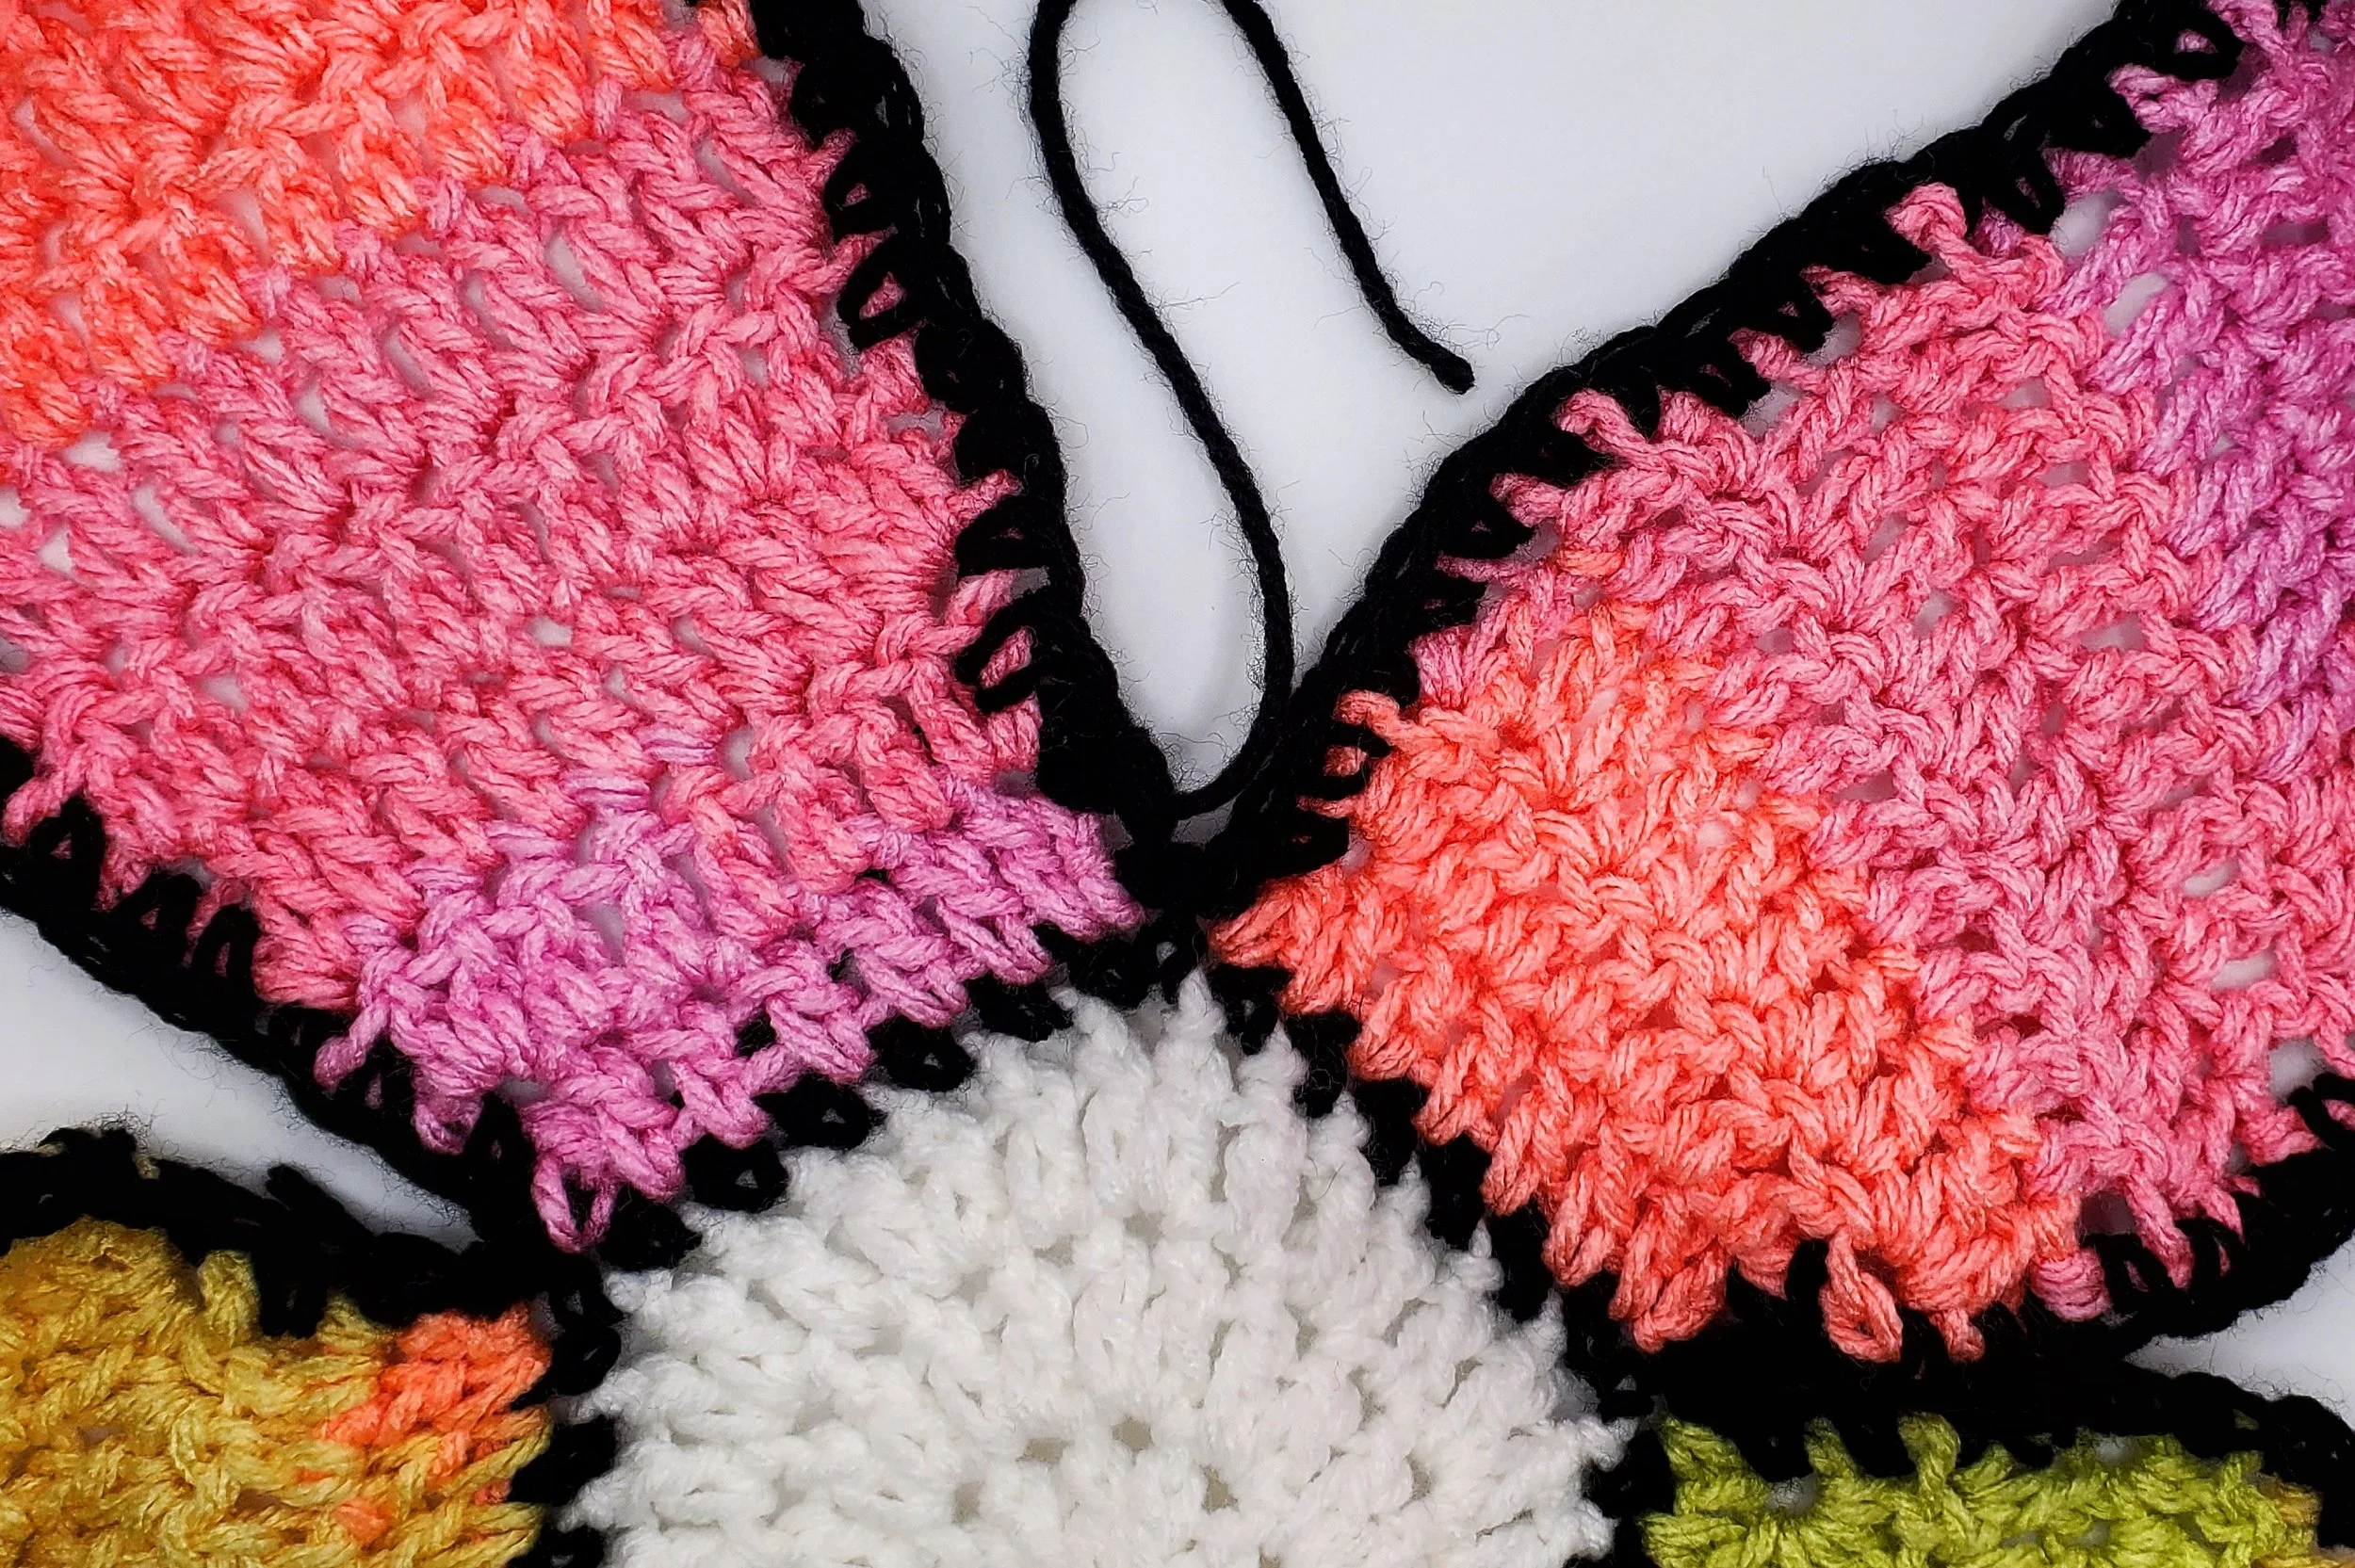
With the right side up, attach black yarn to the top of the first dc of any petal. Ch 1 and sc in the same space. Working around the petal, make 2 sc stitches into the side of each dc row, sc in each of the 3 dc stitches at the top of the petal, and work back down the same petal with 2 sc stitches into the side of each dc row, stopping when you reach the opposite side of the first row.
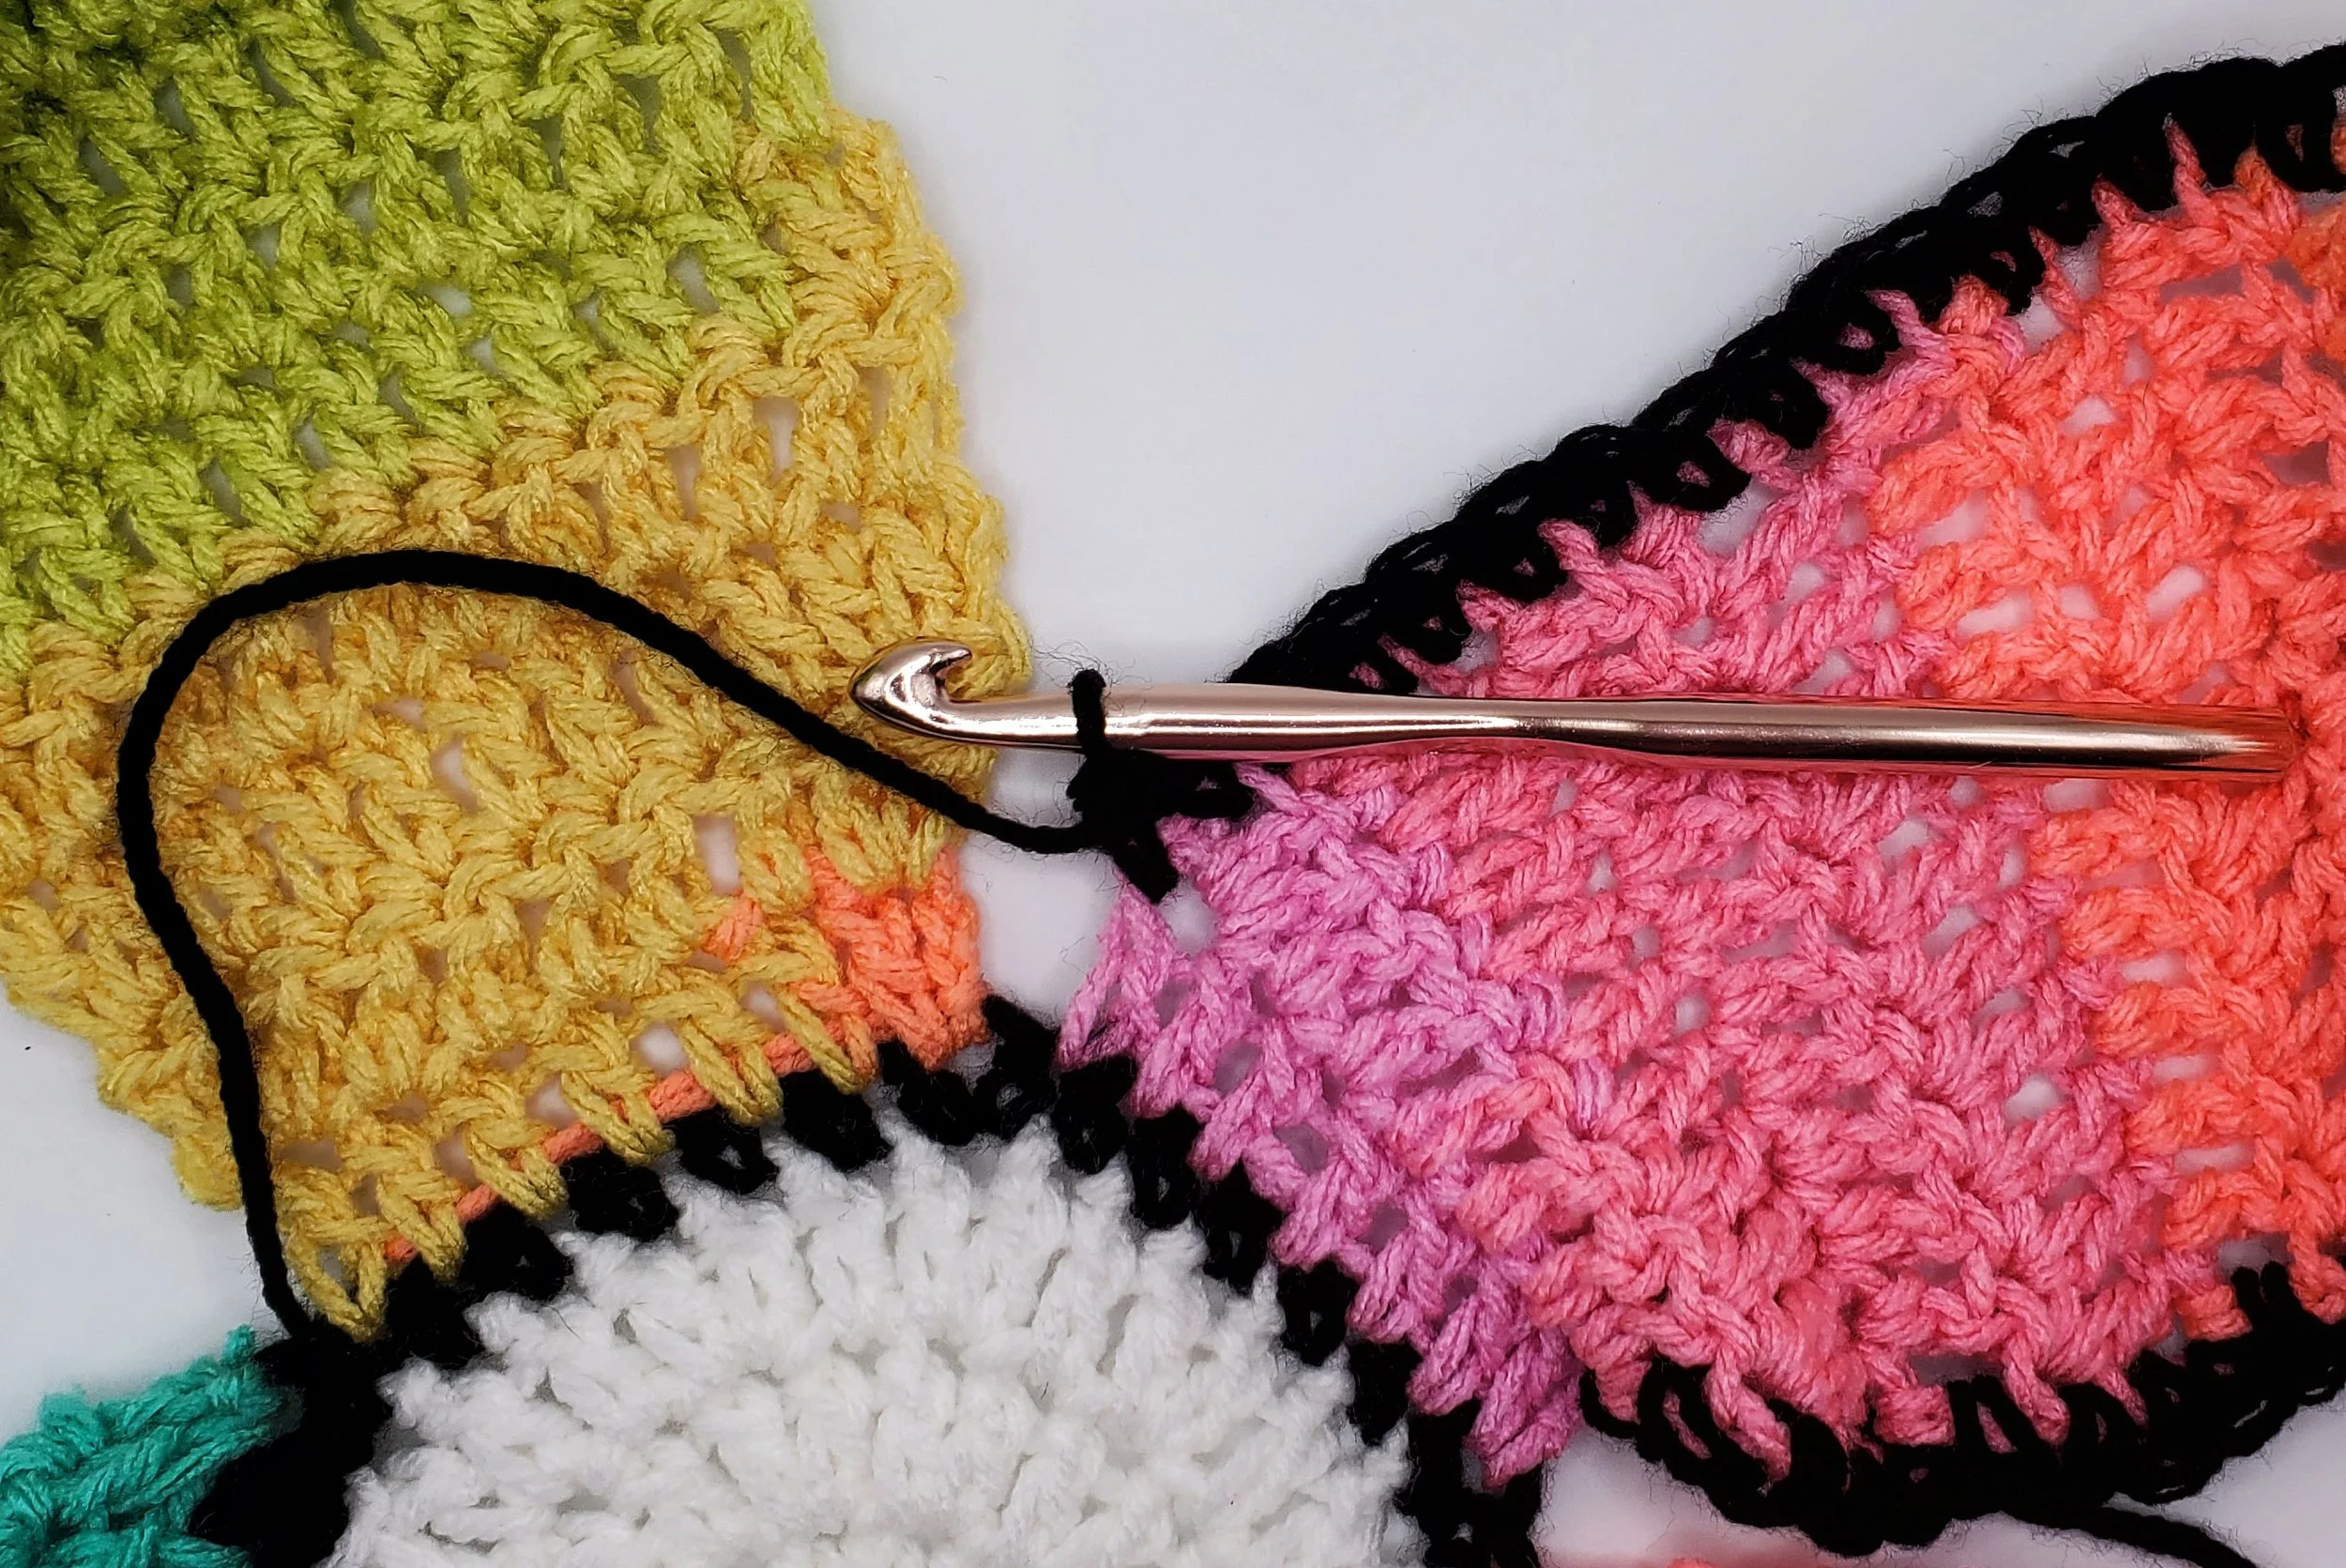
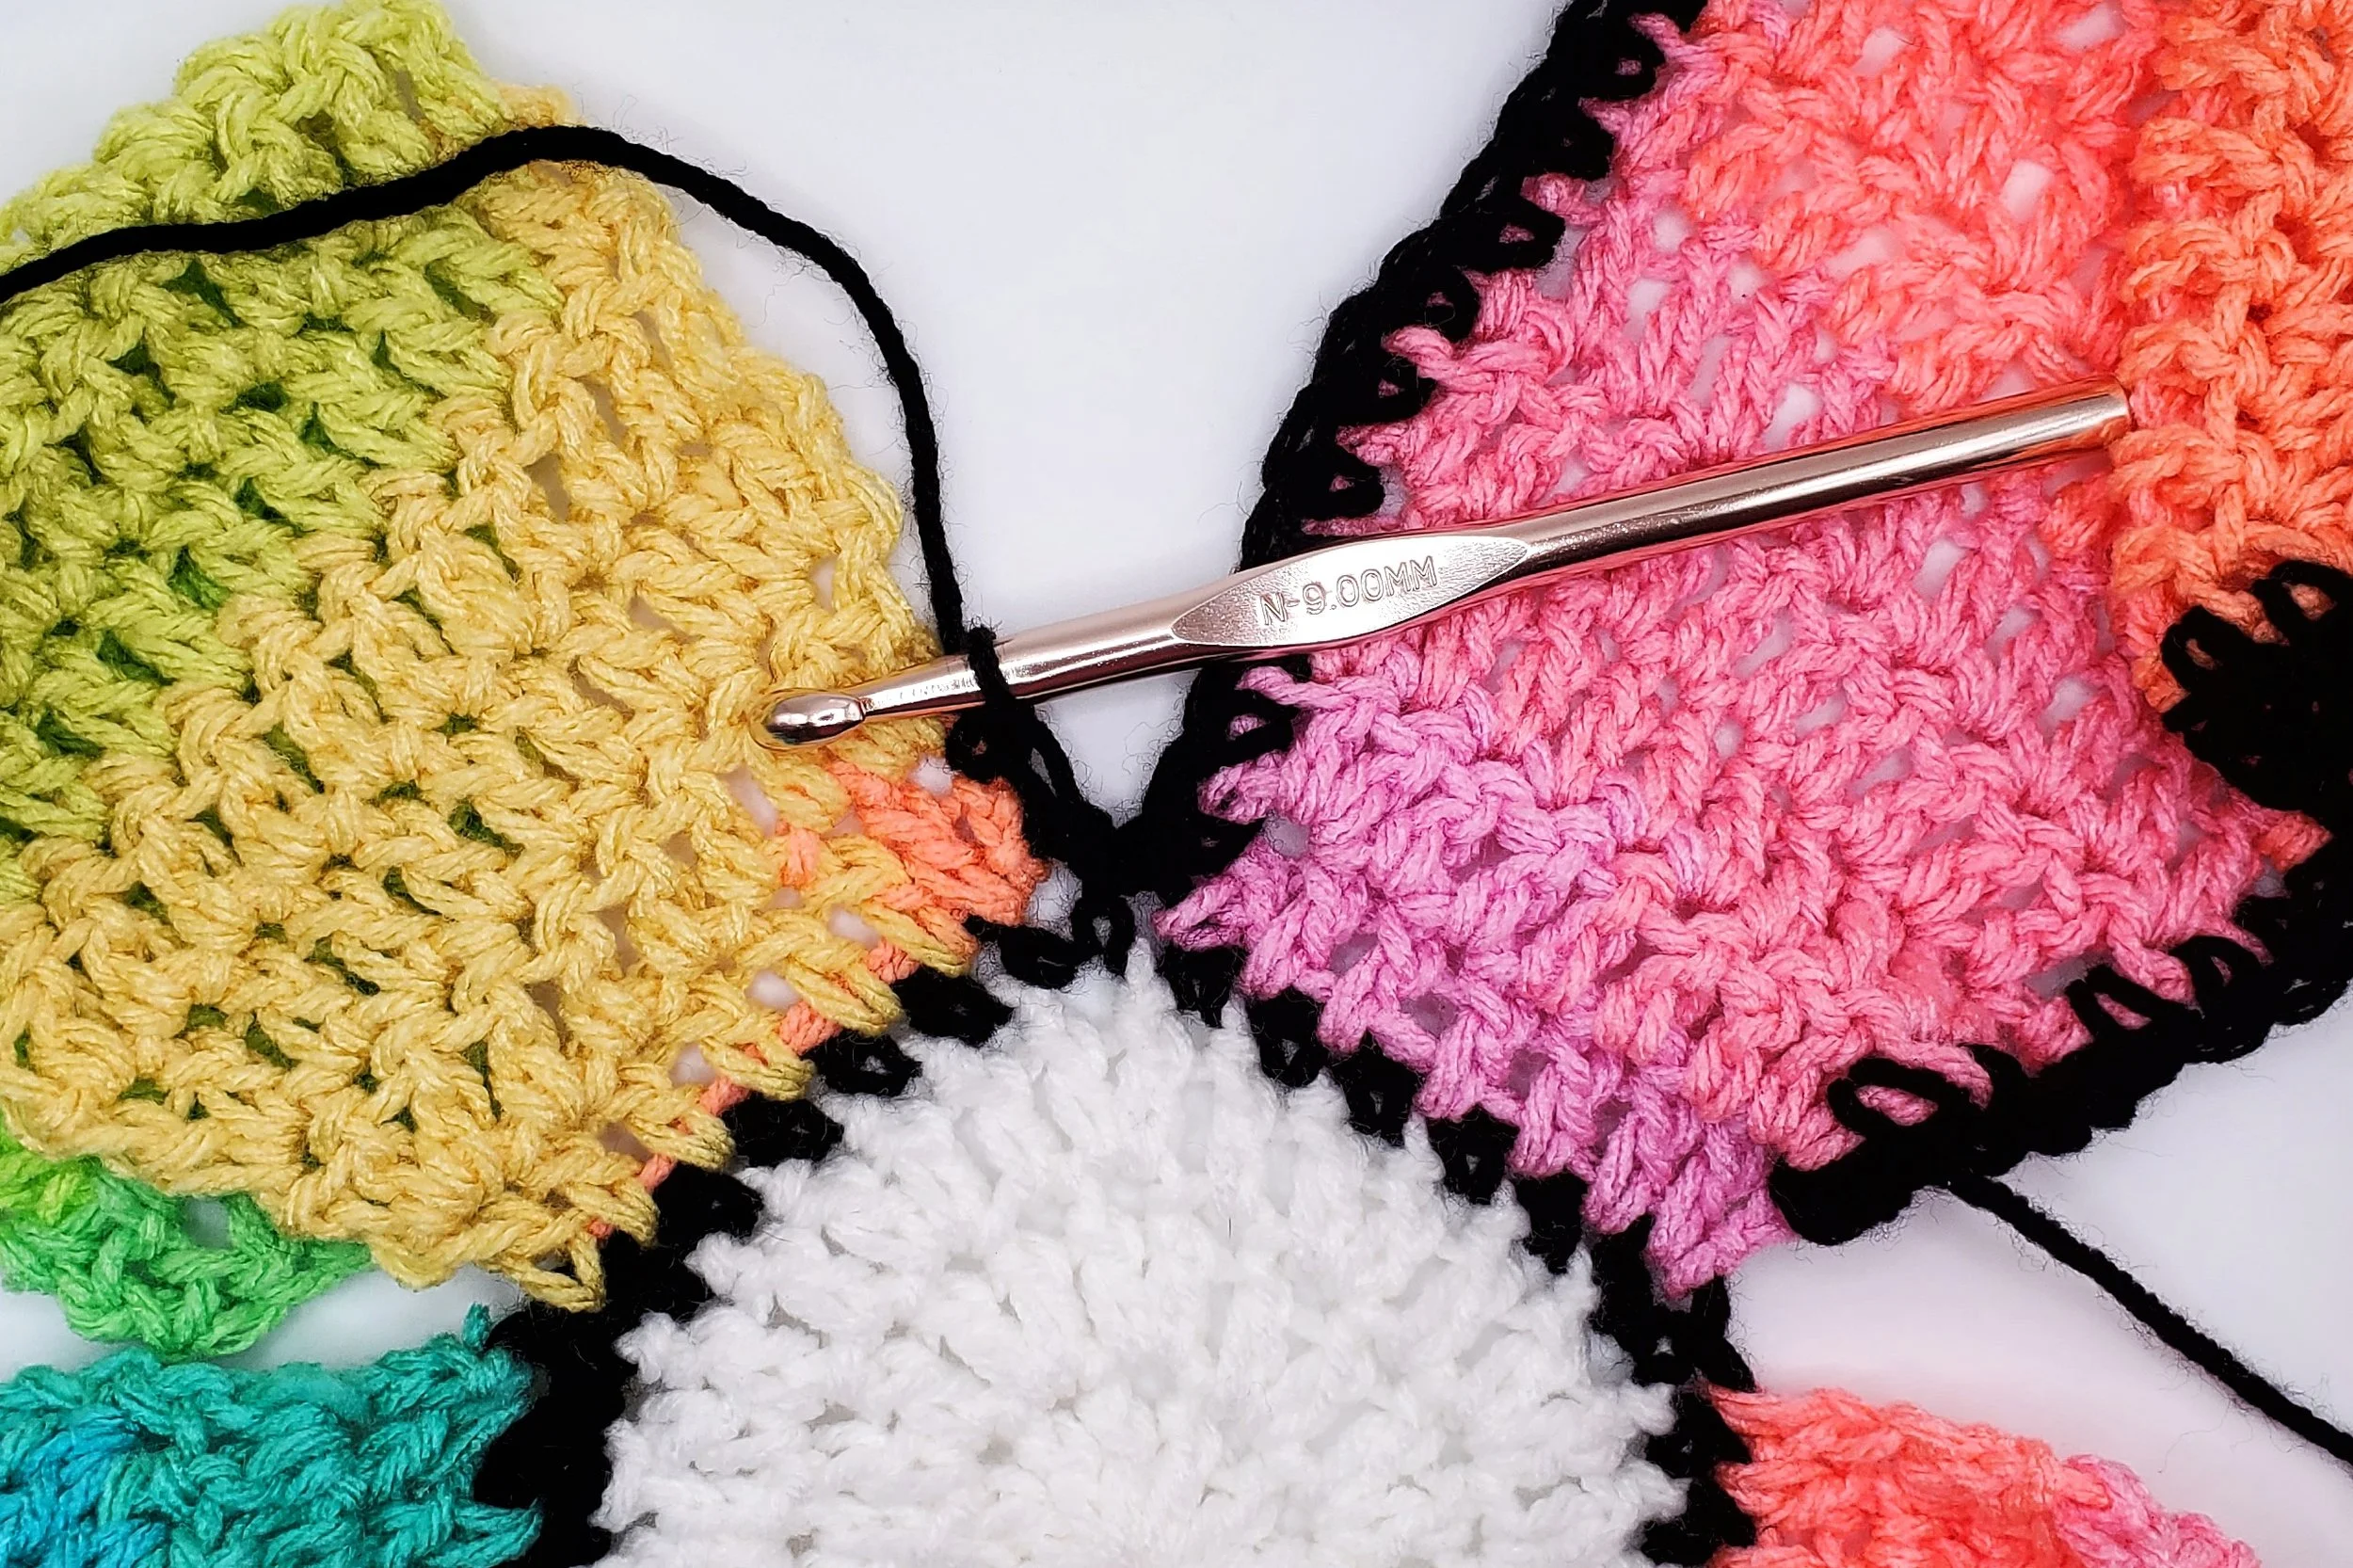
Make 1sc in the top of the first dc row. Sl st into the two visible stitches of the center circle border. Sc in the top of the 1st dc of the next petal.
Repeat around each petal until all petals have edging. End on the second sl st before where the yarn was originally attached, and sl st to the 1st sc to join.
Finish off and weave in all ends.
Love this pattern? Do you want more content like this? Consider buying me a coffee to show your support!
